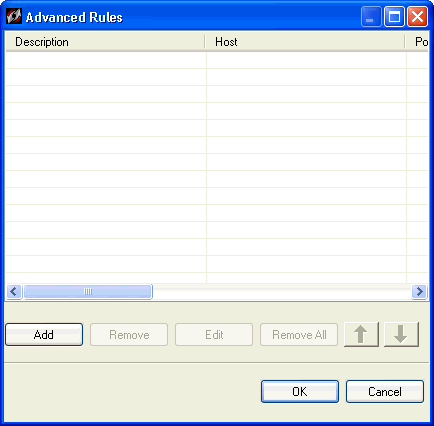
When you create an Advanced Rule, first decide what effect you want the rule to have.
Do you want to block all traffic when your screensaver is on? Would you like to allow all traffic from a particular source? Do you want to block UDP packets from a web site?
To begin, open the Tools menu at the top of the main console, and click Advanced Rules. The Advanced Rules dialog box will open, with an informational warning about their priority. Once you have created rules, they will appear in the main list.
Click Add. The Advanced Rule Settings dialog box opens at the General tab.
Enter a descriptive name for your rule on this tab, and then specify the conditions for it on the other tabs.
To create a rule, you must first specify the kind of traffic, and the conditions that must exist for the rule to take effect. There are five different sections within the Advanced Rule Settings dialog box where you can specify the characteristics of the traffic: General, Hosts, Ports and Protocols, Scheduling, and Applications. You can use as many sections as necessary to specify the conditions and characteristics (time of day, type of traffic, port number) that will cause the rule to take effect, as well as the effect the rule will have. The more information and characteristics that you enter in the Advanced Rule Settings dialog box, the more specific the rule will be. Note that each tab that contains specified information contributes to the functioning of a rule.