Thief: The Dark Project
|
Last Updated September 2006
|
These instructions were written for Thief Gold (e.g. The Dark Project version 1.37), but they should work with the original Dark Project. I don't have my original anymore, so I don't have any way of testing them for you.
1. Insert CD and Quit the auto-run program
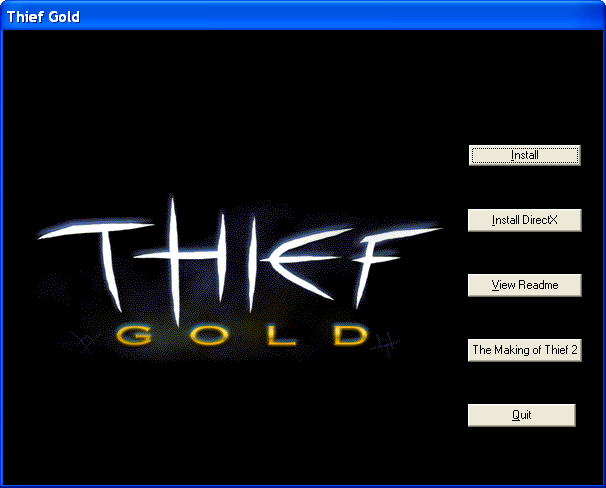
When you put the disc into your computer you'll be confronted with Thief's autorun (automatically run) program.
Just close this by clicking Quit. If you try to install it from here, you'll get an error message saying "This product cannot be installed on Windows NT due to a Microsoft DirectX (tm) limitation." Never fear, this was only intended to block NT4 (the game runs fine on 2000/XP and presumably Vista).
2. Run setup.exe with "-lgntforce"
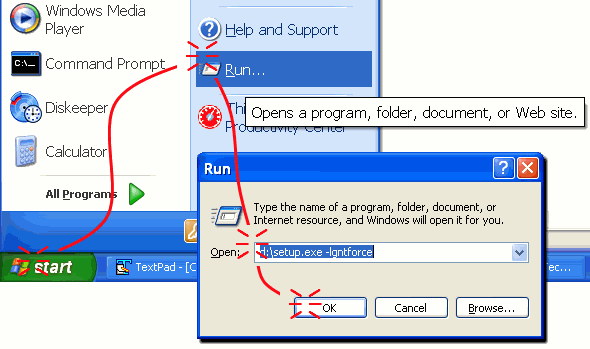
Open a command-prompt or use the Start Menu's Run option to execute the following command, but replace D: with your CD-ROM's drive letter (if different):
D:\setup.exe -lgntforce
Example ...
This suppresses the faulty "Windows NT Install detected" check.
3. Select "Full" Install Option
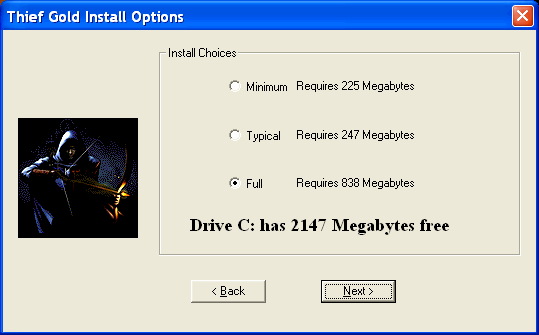
After stepping through agreements and choosing where to install Thief, you'll be asked whether you want a Minimum, Typical, or Full installation. I highly recommend you choose "Full". Besides being less than a gigabyte (which isn't much considering most games in these days of 2006), you'll be able to run the game without the CD!
You can ignore what it says for how many megabytes are free; it's usually wrong. When the game was published, it was pretty much unheard of to have more than a gigabyte or so of space. I remember, I had a 600mb hard drive and I was hot shit.
4. Swapping CD's
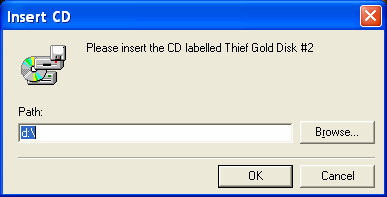
In two parts of the install you'll be asked to insert either Disk #1 or Disk #2. Yes yes, I know that you know it's talking about the CD's you have and not some ol' floppies.
I bring this to your attention, because the installer can get confused and not do anything when you click "OK" or throw up weird InstallSHIELD error messages like "There is no disk in the drive" and "The wrong volume is in the drive" ...
In any case, just keep clicking "Try Again" when you know the right disk is in there and it actually is in there. These problems happen, because the installer is impatiently checking on the CD and, if it hasn't spun up yet, then it freaks out. In addition, the autorun programs on the CD's will be fighting for use of the CD with the installer. When the autorun programs come up, make sure to "Quit" them.
Post-Install Fixes
| |||||||


