Frame Basics
The main window of Probe is divided into non-overlapping 'frames'. Each frame has a Probe component in it, such as a Folder Browser, a Location Bar etc. The frames are separated from each other by edges. You use the mouse and the keyboard in a frame just as you would with any other window type.
Contents of this page:
For more detailed information on frames, go to:
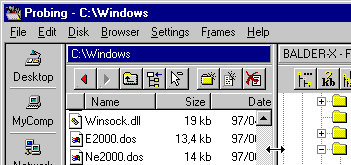
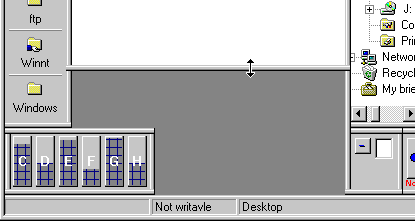
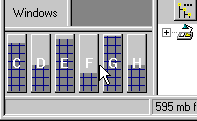
When you want to change the size of a frame, move the mouse cursor over the frame, towards an edge, so that it turns into double arrow symbol as in fig 1. Press the left mouse button and drag the edge. Then release the left mouse button.
Fig 1: Taking hold of and edge
Fig 2: The edge has been dragged and released

When taking hold of an edge at the intersection of two edges, both a horizontal and vertical edge is dragged. All frames attached to the two edges are resized.
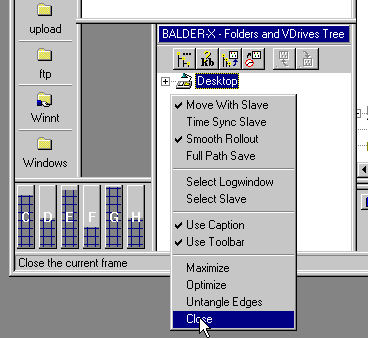
Every frame has a popup menu which appear when clicking with the right mouse button in the frame. At the bottom of this menu, below the bottom separator, some commands for frames are available.
Fig 3: Every frame has a popup menu
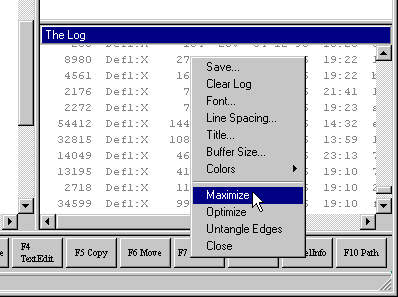
The commands below the separator are specific to frames. They appear in the popup-menu for all frame types. ('Maximize' and below in fig 3)
Above the separator in fig 3 (from 'Colors' and up) are commands which are specific for each frame type, in this case the Log Window.
NOTE: In a Folder Browser, or in a Tree Browser you must click the right mouse button in a area which has background color for this menu to appear. Otherwise a popup menu specific to the file/folder being clicked appears.
Frames can be created and destroyed. When creating a new frame, there must first be some free area to put it in. This is done by splitting edges and dragging them.
If two frames are next to each other they share an edge. Such edges can be split by double-clicking, with either the left or the right mouse button.
Fig 4: Putting the mouse over a shared edge
Fig 5: Splitting the edge by double-clicking it
After splitting a shared edge, edges can easily be dragged to provide free window area for a new frame.
Fig 6: Preparing free space by dragging edges
After providing free window area we're ready to create a new frame. We do this by clicking the right mouse button in the free area where we want to position the new frame. A popup menu appears and we choose the type of the new frame.
Fig 7: Selecting a new frame typee
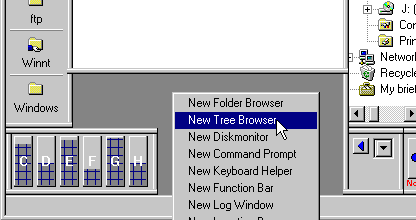
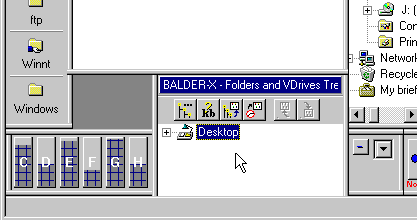
Fig 8: New frame was successfully created
NOTE: Some frame types, such as Command Prompt, Function Bar etc, can only exist in a single instance.
NOTE: Some frame types cannot be created if the free area is too small.
If you want the edges of two close frames to join into a shared edge, you just drag one of the edges, so that it clearly overlaps with the other edge. When releasing the mouse button, the two edges merge to single edge.
Fig 9: Merging two edges by dragging
Edges are merged with window borders, the status bar and the menu bar in the same way.
Fig 10: After merging three edges
Closing a frame can be done either by selecting 'Close' in the frame popup menu, or by clicking the same alternative in the 'Frames' pull-down menu.
Fig 11: About to close a frame:
Next: Using Folder Browsers