


OfficeTalk lets you completely configure the layout and presentation of both the Company View and the Contact View. You may choose which fields are displayed and how they are displayed.
You can design the Company or Contact View by first entering the relevant view and then clicking the right mouse button inside the view and selecting Layout from the context menu. When you do this, a grid will appear over the view, splitting the view into a series of cells. A format toolbar and an alignment toolbar will appear at the top of the view. To stop designing the view, select Layout once more from the context menu.
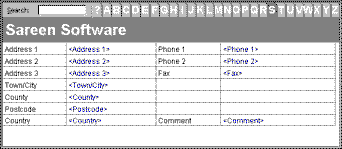
By default, the view shows four columns of cells. The cells in the first and third column contain text representing the field labels. The cells in the second and fourth columns contain representations of the field values. For example, <Address 1> and <Phone 1>, in the picture above, represent the first company address field and the company phone field, respectively.
More:
Positioning Fields and Field Labels
Changing the Width and Height of the Rows and Columns
Changing the Appearance of each Cell
Adding and Deleting Rows and Columns
More Company and Contact View Display Options