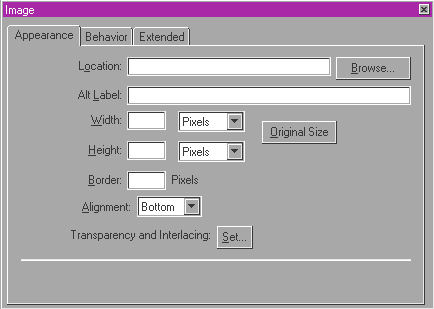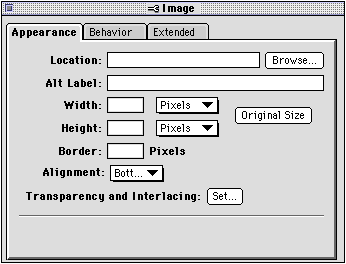

Once you've added an image to your page, you can use the Image Object Editor to change the attributes of your image. You can change the appearance of an image (such as the size and alignment), add special effects to it, and make it behave as a form button or an image map. You can also use the Image Object Editor to locate the file if the reference link to it is broken.
Note You can also make an image into a single hypertext link that you can click to go to a different page. For more information, see Creating links and anchors.
You can open the Image Object Editor three different ways:


To change the attributes of an image, select the image and then change the settings in the Image Object Editor. Click the Appearance tab to see more options. To apply the new settings, press tab or click the close box on the Image Object Editor.
|
Use this Appearance setting |
To do this |
|---|---|
|
Location |
Locate and re-establish the reference link to a missing file. The Location text box displays the path of the reference link to the image file. Click Browse to select a new path. |
|
Alt Label |
Type the text that appears in place of the image if a Web browser doesn't support images or if your viewer has turned image loading off. You should always provide an alternative label for important images. |
|
Width |
Change the width of the image. Choose Percent to make the width a percentage of the browser window's width. Choose Pixels to make the width a fixed amount that is not affected by the browser window's width. For more information, see Setting the image size next. |
|
Height |
Change the height of the image. Choose Percent to make the height a percentage of the browser window's height. Choose Pixels to make the height a fixed amount that is not affected by the browser window's height. For more information, see Setting the image size next. |
|
Original Size |
Restore a resized image back to its original size. |
|
Border |
Change the thickness in pixels of the border around the image. A setting of 0 makes the border around the image invisible. |
|
Alignment |
Change how the image is aligned with text in a line or on the page. Choose Top to align the top of the image with the top of the text next to it. Choose Middle to align the middle of the image with the text next to it. Choose Bottom to align the bottom of the image with the bottom of the text next to it. Choose Left or Right to place the image on the left side or right side of the page and have text flow around it. (View your page in a browser to see the actual left and right alignment of the image within text.) |
|
Transparency and Interlacing |
Click Set to make a GIF image interlaced or to add transparency to a GIF image. See Creating an interlaced image and Adding transparency to an image for more information. |
To change the behavior of an image, click the Behavior tab and choose a setting. For more information, see Making images interactive.
|
Use this Behavior tab setting |
To do this |
|---|---|
|
Picture |
Change a form submit button or image map to a picture. |
|
Form Submit Button |
Make an image behave like a form submit button. |
|
Image Map |
Make an image behave like an image map. Click Edit to open the Image Map Editor so you can add hotspot links to the image map. See Creating an image map for more information. |
To add extra HTML attributes to an image, click the Extended tab and type the appropriate HTML. For more information, see Adding extra HTML to your page.
|
Use this Extended tab setting |
To do this |
|---|---|
|
Extra HTML Attributes |
Type code for additional HTML attributes for your image. (This is an advanced feature that requires knowledge of HTML; it specifies additional parameters for the <IMG> tag. |