|
Collaging
in Photoshop
|
|
|
This is a bit more in depth than some of the other tutorials, you will learn several techniques that you can adapt to add a pro touch to your montages and collages. You asked for it, you got it! Enjoy. If you are not familiar with layers, please do my layers primer first. |
|
| By Colin Smith www.photoshopcafe.com |
 |
|
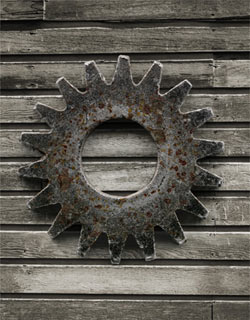 |
*Disclaimer stuff - (Hey I live in Cali, I don't want to be sued) *Please only use these images for your personal learning during this excercise, you may not use them for anything else without the permission of PHOTODISC® |
 |
|
 |
Select the top layer (by clicking on its name in the layers palette) Click the add layer
mask icon |
 |
|
|
|
|
 |
|
 |
Once we have painted out all the parts we want hidden, you may notice some areas where you over painted. Don't worry. |
 |
|
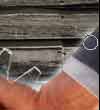 |
Press the "X"
Key to switch the foreground and background colors. |
 |
|
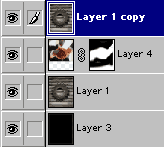 |
Now are you ready
to take the next step? Duplicate layer 1 (The cog), by selecting the layer
and layer>duplicate or by simply dragging the layer name to the new
layers icon. Drag the new layer to the top of the layers palette as seen in the picture to the left. Keeping the top layer selected, Ctrl/Cmd+click on the layer 4 thumbnail (The tiny picture of the hands in the layers palette) |
 |
|
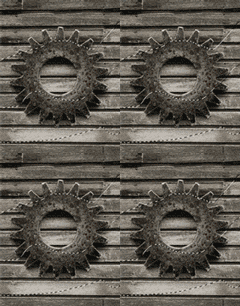 A) You should see the "marching ants" selection like this |
B)
Click add layer mask |
 |
|
 |
|
 |
|
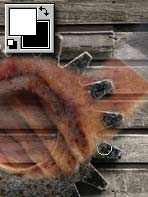 |
It will help to use a smaller hard brush for the detail in the teeth of the cog. Use a large soft brush going into the hands for a smoother transition. |
 |
|
 |
Put the opacity at 100% again on layer 4 (the hands layer) There we have an interesting blend of images. Are you ready to take it even futher? Lets go... |
 |
|
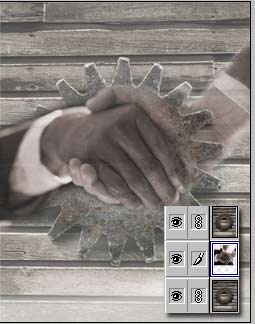 |
By now if you have done the other tutorials on www.photoshopcafe.com you will be very familiarwith my colorizing technique. Go to hue/Saturation and colorize the hands with a warm color and very little color saturation, 30% at most. Pull back the opacity on all the layer to 70 - 80% Click on the "hands layer" thumbnail to select it. then directly to the left of the other thumbnails, click the box and see the little "chain" icon appear. This means the layers are linked. Link the 3 layers together, do not link the color background layer. Go to Layers>Merge linked. You now have only 2 layers. The composite layer with our art and the white background layer, let's do something cool and fun... |
 |
|
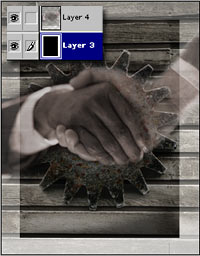 |
Select the white layer "layer 3" With the retangular marquee tool "M" draw a smaller rectange inside the picture frame and fill with black. Should look like at the left. |
 |
|
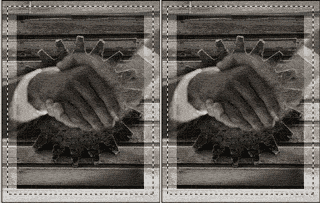 Select
the top layer and make another rectangle larger than the last one Select
the top layer and make another rectangle larger than the last one |
Select>feather
input about a 10 pixel feather |
 |
|
 |
Press delete 3 times and this is what we have. |
 |
|
 |
To finish off I have added some type in Screen mode. I sure hope you enjoyed this tutorial and have learned something about collages. Post up some of your finished projects on the forum. |