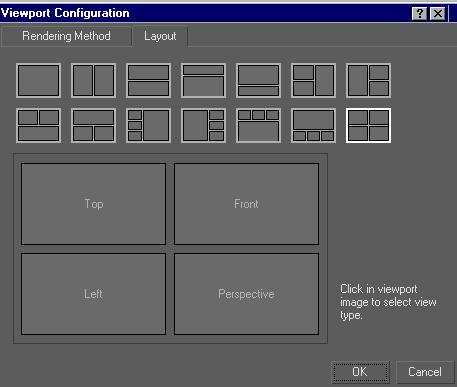
Layout panel of the Viewport Configuration dialog
gmax defaults to a two-over-two arrangement of viewports. Thirteen other layouts are possible, but the maximum number of viewports on the screen remains four.
Using the Layout panel of the Viewport Configuration dialog, you can pick from the different layouts and customize the viewports in each. Your viewport configuration is saved with your work.
After choosing a layout you can resize the viewports so they have different proportions by moving the splitter bars that separate the viewports.
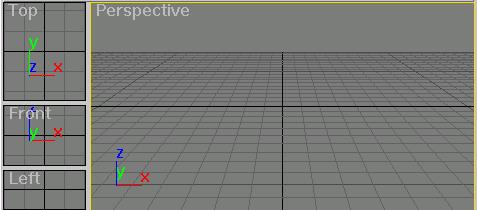
Resized viewport
As you work, you can quickly change the view in any viewport. For example, you can switch from front view to back view. You can use either of two methods: menu or keyboard shortcut.
Right-click the label of the viewport you want to change and click Views. Then, click the view type that you want.
Click in the viewport you want to change, and then press one of the keyboard shortcuts in the following table.
|
Key |
View type |
|---|---|
|
T |
Top view |
|
B |
Bottom view |
|
F |
Front view |
|
K |
Back view |
|
L |
Left view |
|
R |
Right view |
|
C |
Camera view. If your scene has only one camera, or you select a camera before using this keyboard shortcut, that camera supplies the view. If your scene has more than one camera, and none are selected, a list of cameras appears. |
|
$ |
Light view. Works like Camera view. |
|
P |
Perspective view. Retains viewing angle of previous view. |
|
U |
User (axonometric) view. Retains viewing angle of previous view. Allows use of region zoom. |
|
None |
Grid view. Automatically changes to the active grid type. If you first activate a grid object, the view switches to an orthographic Top view of that object. If you don't activate a grid object, the view switches to the ground plane (identical to a Top view). |
|
E |
Track view. Displays the same view as a Track View window. |
|
None |
Shape view. Use viewport right-click menu. Automatically aligns view to the extents of a selected shape and its local XY axes. |
|
W |
Toggles the active viewport between full screen and the current layout. |
See also
Precision and Drawing Aids (for Grid view)