- Click the New button
 on the Standard toolbar.
 Or, select New on the File menu.
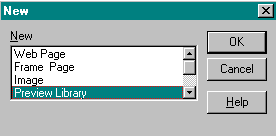
The New box appears. - In the New box, select Preview Library.
- Click OK.
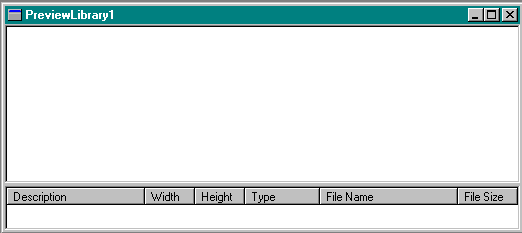
The Preview Library box is displayed.
- The Preview Library box is divided into two views:
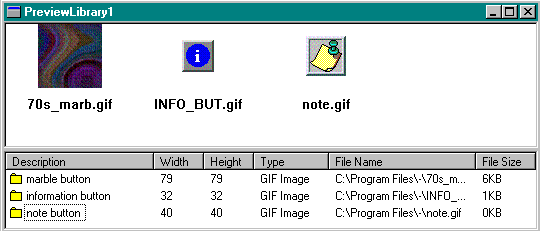
- The Thumbnail View .
The images are stored in this area. - The Report View.
The image file information is described in this area.
- Description
Displays the description that you added in the Image Library Item Properties box. - Width
The pixel width of the image. - Length
The pixel length of the image. - Type
Displays whether the image file is either a *.gif or *.jpg. - File Name
Contains the image file name and directory location of the file. - Size
Displays the the image file size in kilobytes.
- Description
- The Thumbnail View .
- Select New Item from the Library menu.
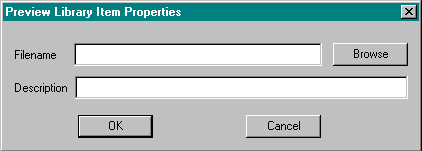
The Preview Library Item Properties box is displayed.
- Enter the following items in the Image Library Item Properties box:
- Filename
Type the image filename or use the Browse button to search your hard drive or network for the *.gif or *.jpg file that you want to add to the library. - Description
Type in a description that describes the image file.
- Filename
- Click on OK.
The image will be added to the Thumbnail view and described below in the Report view. - To add more images to the library, select Library from the menu bar and repeat Steps 4 to 7.
- Select Add Multiple Items on the Library menu.
The Open box is displayed. - Use the mouse to select the images that you want to include in the library.
- Click on the Open button.
The images are loaded into the library.
- Click on an image in the Thumbnail View.
- Select Item Properties on the Library menu.
The Preview Library Item Properties box is displayed. - Type the Description.
- Click on OK to close the Item Properties box.
- Repeat the previous steps to add the description to the other images listed in the Report view.

- Click the Save button
 on the Standard toolbar.
Or, click on Save on the File menu.
The Save As box is displayed. - Accept the name or assign a new name and location for the file.
Web Factory assigns a default library name and location. - Click on Save to return to the preview window.
Note | The default page name begins with PreviewLibrary1.BRS. Each page is numbered sequentially (PreviewLibrary2.BRS, PreviewLibrary3.BRS, etc.) as you save more libraries. The default extension is *.brs. The default location is the Web Factory "Myfiles directory. |