To create a button like this...
- From the Insert menu choose Button.
- Resize the button to the size you want.
- From the View menu choose Styles.
- Click on the Font tab and choose Duotone
style.
- From the View menu choose Styles
again to close the Styles Pane.
- From the Format menu choose Fill.
Select the Picture tab, click the Choose
Picture button, and select a file containing a simple texture.
- From the Format menu choose Shadow
and move the Blur slider slightly toward the right until the
preview picture has a soft edge around it. Click More Fills
and choose an orange shade. Click OK.
- From the Format menu choose Emboss or
Engrave. Move the slider all the way to Engrave.
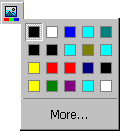
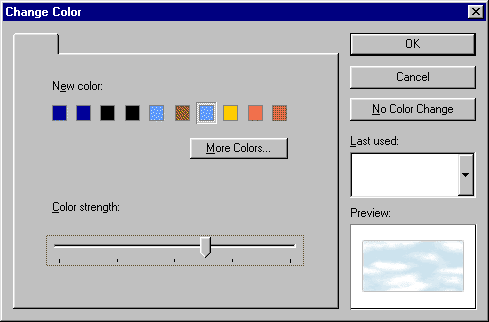
- Click the Change Color button, then click More and choose a blue color.

- Move the Color Strength slider a little past the halfway
point and click OK.

- Click on "Button Text" and type the text you want for the button.
- From the Format menu choose Fill.
On the Fade tab make the Start color
a medium yellow and the End color a medium orange. Set
the Fade Direction from top to bottom.
- Click
 to add a shadow.
- Resize the text appropriately and center it on top of the finished button.


