From the Insert menu choose Shape
and then Square, or choose Square
from the Shapes button:

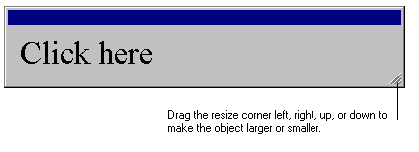
Make the square smaller by grabbing the bottom right corner of the selection window and
moving it towards the center of the square.

Click  to add an emboss effect.
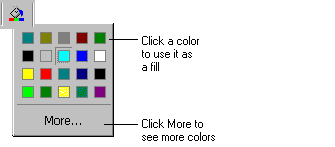
Change the fill color of the square by choosing Fill from
the Format menu or by using the Fill
button.

Insert a second square and resize it to half the size of the first square.
Move the smaller square on top of the first square and center it.
TIP: You can use the keyboard arrow keys to fine-tune the positioning of the
square.
Click  to engrave the square.


