


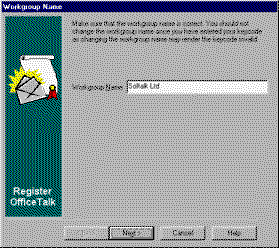
The first page in the Registration wizard lets you specify the workgroup's name. Ensure that the workgroup name is correct. This is important since the keycode that you receive will be based upon this name and changing the workgroup name at some point in the future will invalidate the keycode.
The next page lets you enter any licenses that you may already have. Each OfficeTalk product comes with one license. Each license has a serial number and licences a certain number of users.
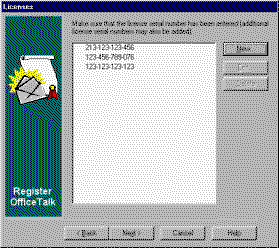
If you have more than one license (for example if you bought several copies of OfficeTalk) then you may enter all the serial numbers together, thus accumulating user licenses. If you do not have a license then just press Next.
To enter license information, press the New button in the Licenses page. A License dialog box is displayed.
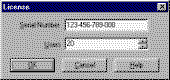
Enter the serial number for this license and specify the number of users purchased against this license. Press OK. The license will now appear in the list. You can edit or delete any entries in this dialog box using the Edit and Delete buttons. When you have entered the license(s), press Next.
The next page lets you specify the number of additional user licenses that you require. For example, if you already have a licence for 5 users and you wish to have 55 users altogether then you would specify that you require an additional 50-user license.

The next page lets you specify whether or not you wish to purchase additional cost options. These options include the OfficeTalk API which lets you write Visual Basic programs to interface with your OfficeTalk data. The options also include the ability to run OfficeTalk in a client/server environment using a client/server database engine rather than the JET engine supplied as standard.

The next page lets you enter your details or the details of the person to whom your vendor will communicate the product enabling keycode.
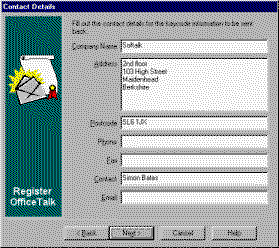
When you have entered the relevant details, press Next.
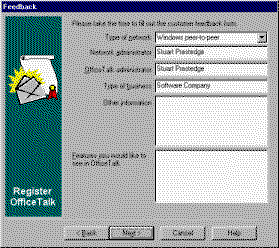
The next page lets you fill out any feedback or comments that you have with regards to OfficeTalk.
The next page lets you choose whether your registration form will be printed out (for faxing or sending by post), output to a file (for sending via an alternative e-mail package) or e-mailed (using the OfficeTalk Internet mail service).
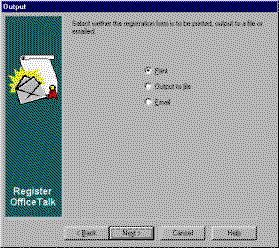
Select the required option and press Next. If you selected Print, OfficeTalk will display a further page which lets you preview your print out. Pressing the Finish button will send your registration form to the printer. Fax the printed form to your supplier whose fax number will be displayed at the top of the form. Your supplier will then inform you of your keycode.
If you selected Output to file, OfficeTalk will display a further page letting you choose the filename to which the registration details will be written. Pressing Finish will write the file to the specified location. Send the file as an attachment to your supplier using any e-mail package.
Alternatively, if you selected E-mail, OfficeTalk will display a further page showing the e-mail address to which the registration form will be sent. You may change this address if necessary. Pressing Finish will send the registration form using the OfficeTalk Internet mail service. Note, the mail will be sent the next time that you send mail using the Internet mail service.