


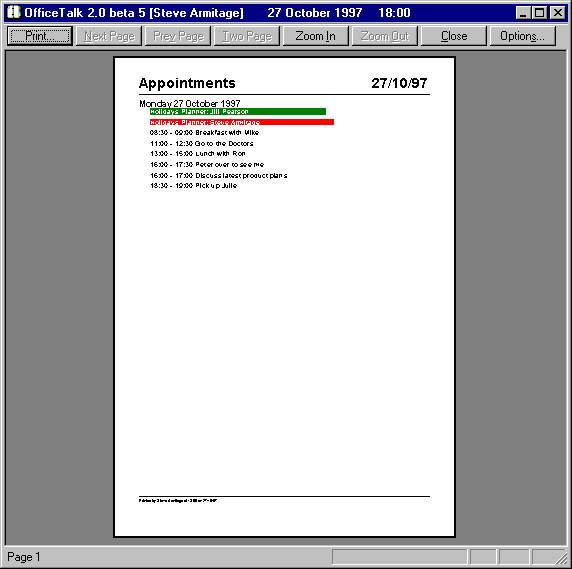
OfficeTalk lets you print out your daily appointments by selecting Print Daily Appointments from the File/Print menu. This will bring up the Print Daily Appointments dialog box showing the Details page.

Note: You can also bring up the Print Daily Appointments dialog box by pressing the {bmct help0033.bmp} button at the top of the Daily Appointments view or by selecting Print Contents of Window from the window menu.
The fields and buttons in the Details page of the Print Daily Appointments dialog box are described in the table below:
| Field/Button | Description |
| From/To Fields. | The From and To date fields specify the date range that you wish to print. You may choose either an actual date by pressing the {bmct help0034.bmp} or a smart date by pressing the {bmct help0035.bmp} button and selecting a date, such as "Today", or "Yesterday" from the drop down list. |
| New page per day. | Check this check box if you wish to start a new page for every new day printed. |
| Print shown through planners | Check this check box if you wish to print planners shown through onto your diary. |
| Print shown through events | Check this check box if you wish to print events shown through onto your diary. |
| Font | Description |
| Title Font | The font of the date title which is printed at the beginning of every new day. |
| Appointment Font | The font of the appointment description. |
OfficeTalk provides common print functionality in all Print dialog boxes. This functionality includes:
Defining headers and footers
Printer setup
Page Style Selection
Saved Print Settings
Preview capability
For more information on this common print functionality, see Printing.