Adding a check box
You can add a single check box to a form or multiple check boxes
to a list of choices in a form. Check boxes allow the viewer to
select as many choices as they like from the list. Make sure radio
buttons that belong to the same group are named the same. Similarly,
check boxes belonging to the same group must also be named the same.

To add a check box to the form area:
- Place the insertion point inside the red border of the form
area.
- Choose Form from the Insert menu and
then choose Check
Box.
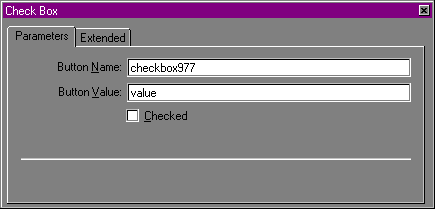
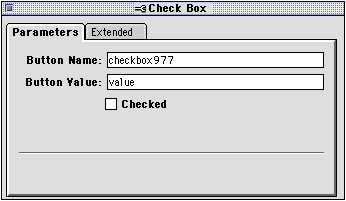
Claris Home Page inserts a check box form element and opens the
Check Box Object Editor.


- In the Check Box Object Editor, type a descriptive name in the
Button Name
text box.
If you have a group of check boxes in a list, the name you type
describes the group. This name needs to be the same for every
check box in the group and can be letters, numbers or a
combination of both.
- In the Button
Value text box, type a unique description for the check
box.
The value you type can be letters, numbers or a combination of
both. This value is returned to you by the CGI script when the
form is submitted and tells you which check box someone has
clicked in the form.
- Select Checked if you want the check
box selected by default.
The check box is selected unless the viewer clicks it.
- Close the Check Box Object Editor to apply your settings.
Previous topic |
Contents | Next
topic
![]()

