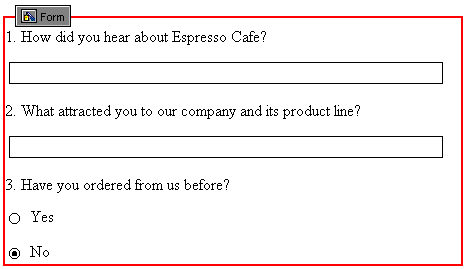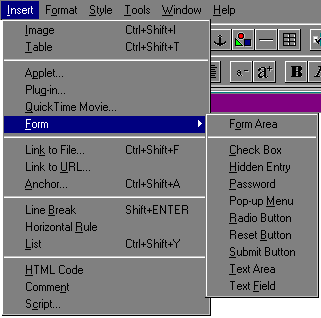
A form area can contain any number of form input elements for your audience to use. These include text fields, password fields, text areas, check boxes, radio buttons, pop-up menus, scrolling lists and submit and reset buttons. You can add hidden entry form elements to store information about the form that is hidden from your audience. You can also add other HTML elements such as text and images to the form area.

Every form input element needs a name and a value that is used by the CGI script to process the information. After you insert a form element into the form area, you can use its object editor to specify its name and value. You can also use the element's object editor to specify other parameters such as the size that it displays on the page.
Note You can change form elements the same way you change other Web page elements; that is, you can copy them, move them around, and resize them using the same basic methods. See Cutting, copying, and pasting and Resizing elements using the mouse for more information.
You can use the Insert menu or the Forms tool palette to insert form elements into the form area.
To insert a form element using the menu:

Claris Home Page inserts the form element and opens its object editor.
To insert a form element using the Forms tool palette:


|
Drag this icon |
To insert this form element |
|---|---|
|
|
A check box |
|
|
A radio button |
|
|
A submit button |
|
|
A reset button |
|
|
A text area |
|
|
A text field |
|
|
A password field |
|
|
A scrolling list/pop-up menu |
You can use the object editor for each form element to set the name and value of the element and other attributes, such as display size.
When you insert a form element into the page, Claris Home Page automatically opens its object editor. You can also open the object editor by doing one of the following: