Previous Next

Schedules

Schedules
How to create a scheduled report
A scheduled report is a report that is sent out by e-mail at a specified time or uploaded to the reports folder where it can be viewed (or both).
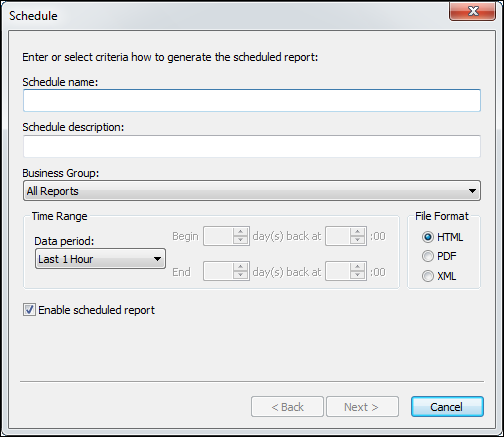
Creating a report is a straightforward process with a wizard to guide you through the process. Before you begin though you should have users defined on the Security tab. It is not required though. You can edit the report later to add the users who will receive the report. Limiting access to reports
Tip! If you want to create another version of an existing report, select it and choose Copy. A new report is created with the same name followed by a number 1, 2, etc. Then modify the report as needed.
To create a scheduled report, follow these steps:
1.
Choose the Schedules tab, then click the Schedule Reports tab.
2.
Click the New button to create a static report. The Schedule window appears.
3.
4.
5.
6.
7.
8.
Click Add to define when you want the report delivered. Click Next.
9.
10.
Select which users will receive the report and click Finish. Users are created on the Securitytab.