


|
Generating
Actions of your Own:
A Quick and Nearly Painless Process! |
|||||||||
|
Al
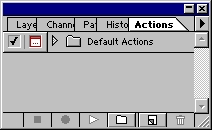
Ward, Action Fx Photoshop Actions Resource Hello again, and greeting from a frosty Montana! I just returned from the MacWorld Conference in San Francisco, and though I did meet some interesting people I was pointedly reminded why I live in Montana instead of a more populous area. In short, it is very gratifying to be home again. That brief intro was sort of a disclaimer to explain my tardiness in posting this article, and I really appreciate Colin's patience with me. This week I'm going to walk through the process I use when developing my text effects actions, step by step, with all the appropriate interjections, sub categories and bylines required to flawlessly create your own. In theory, anyway! With Photoshop open, hit F9 to bring the Actions Palette to the front. For this tutorial I'm using Photoshop 5, but the process is the same for 6.0 also. After you hit F9, you should see this palette:
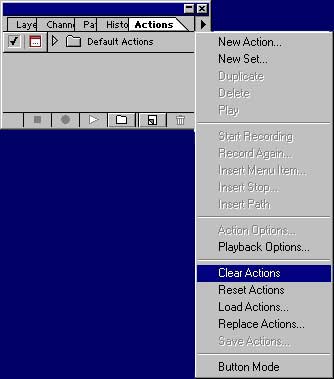
The default actions set is visible in the palette… we want to clear that set out of there. So we will open the Actions Menu and clear them out.
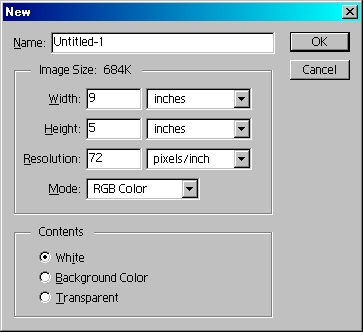
Ok. Now from the menu we can start recording, or we can also press the New Set Icon from the bottom of the palette. All actions must be in a set before you can record. You may then select 'New Action' from the menu, or just hit the New Action Icon from the bottom of the palette. Once you hit record you're in business… every step you make in Photoshop will now become part of the Action provided it is a command that can be recorded. Stick with the commands you can control from the drop down menus and you are in good shape, as not all tools can be recorded. This will save you a few of those pesky error messages when you try rerunning the action later. The first thing I do is set up a new image for my text actions. Generally I start with something 9 inches wide, 5 inches high, 72 dpi, RGB, white background.
Immediately
after creating this new image I make a layer. This is where
I'll create my 'foundation' text. As I distribute these online
through my website (http://actionfx.com), other websites and
on CDs that I generate of my work, I insert a 'Stop' command
at this point giving instructions to the user on how to proceed.
Before you insert your Stop, you will want to cease recording.
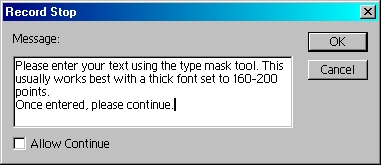
You insert a Stop from the Actions Menu:
Here is an example of a standard message I use in my actions. Note that I give the user instructions on how to set up their image for the best possible result, including which tool to use, how large a font to enter and so on. I rarely select the 'Allow Continue' checkbox to avoid mistakes, as the user will be able to press play to start the action once they have completed the required steps.
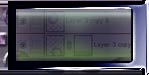
To save a whole lot of time and space, I'm not going to go through the entire process for this effect, as it is simply recording the steps I took to go from this:
to this:
Once you have completed your action, stop recording, select the Set that your action is in, name it and save it from the Actions Menu. You can now distribute your action for all the world to play with, as I've done here. If you would like this effect for your very own, I'm sending it with this article. Or if you cannot find the link, email me and I'll be happy to send it off to you. Until
next time, be safe, take care, and do something cool for someone.
Chow! |
|||||||||
|
|