


Configuring RISC OS Adjust
With RISC OS Adjust, the system for configuring your computer has changed somewhat. In this short series we'll explain each component in turn.
Display
The Display section lets you set the type of monitor you are using, the default screen resolution, number of colours and the screensaver you wish to use. Click the Display icon to open this window.
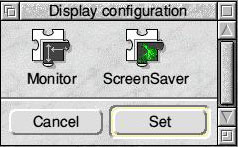
With RISC OS Adjust, what formed the 'Screen' section has been split into 'Display'; perhaps recognising the fact that an increasing number of users have RISC OS on laptops as well as traditional computers. Click the Monitor icon to open this window.
Before we explain how this works, we shall describe how the various monitor types are defined. Each monitor is described in a Monitor Definition File (MDF), and these are all stored in a directory named Monitors found inside the Configure sub-directory of the Resources directory within !Boot. If you purchase a monitor from a RISC OS dealer, they will probably supply you with an MDF for the monitor and if you place it into this directory it will appear on the menu described in the next paragraph so that you can select it.
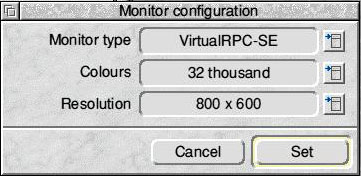
The first item in the Monitor Configuration window lets you select the make and model of the monitor you are using from a menu. As well as some specific monitor types you should also find the standard Acorn monitors. These are all fairly basic monitors, and if you have a normal CRT monitor without a specific MDF, then one of these should provide you with basic video.
If you are using a modern high-resolution monitor, and especially if this is a TFT (liquid crystal or LCD) display you are strongly advised to try to obtain a proper MDF for it. Not only will this let you get the best out of your monitor it will also ensure that you don't damage it as can happen if you use a badly mismatched MDF. There are a number of websites where these can be obtained and helpful advice is often available through the various RISC OS forums.
Once you have selected the monitor type you can choose the number of colours and screen resolution. With a normal Risc PC there is a trade-off between these two values as only a limited amount of memory is available for the video display and the larger the screen resolution the fewer the number of colours you can use.
With machines such as an Acorn A7000, RiscStation or Micro you should be aware that there will be a considerable screen penalty in higher-resolution screen modes.
Click Set to confirm, or Cancel to cancel your settings.
Clicking the ScreenSaver icon opens this window.
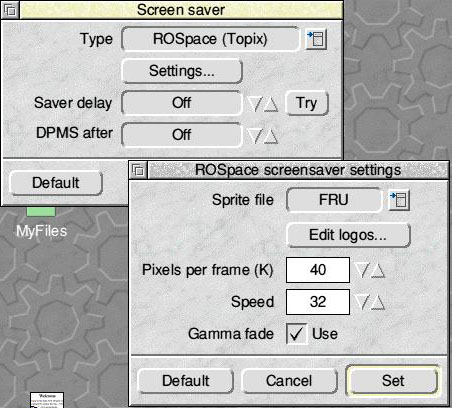
From the 'Type' menu select the screen saver you require, then click 'Settings'. Each screen saver has its own set of settings available; controlling the speed and form of the screensaver on screen. Change them to suit your own needs then click Set.
The Saver Delay controls the time between lack of activity and the launch of the screensaver. After this time the screen saver will become active, and is unblanked when the mouse is moved or a key pressed.
DPMS is a particular type of blanking that can be used with most modern monitors. Instead of just blanking the screen it puts the monitor into a special low-power mode, which can be particularly useful with larger CRT monitors that consume a lot of power. Not only does this save electricity and prolong the monitor's life, the lower power consumption means that the monitor will produce much less heat when blanked. This can be an important factor in hot weather; but has the disadvantage that the monitor takes a couple of seconds to unblank.
Click Set to confirm the settings.
Extensions
RISC OS Adjust supports a system of extensions. Where they are installed in the computer with appropriate configurable attributes you'll be able to do so through here.
The machine upon which this article was being written doesn't have any such extensions installed, so you'll have to experiment with these yourself. Click Set to confirm.
Filer
With RISC OS Adjust, the Filer Configuration options have been separated into five windows - Display, File Operations, Name truncation, Miscellaneous and Thumbnailing. Click Filer to open the first window, Display.
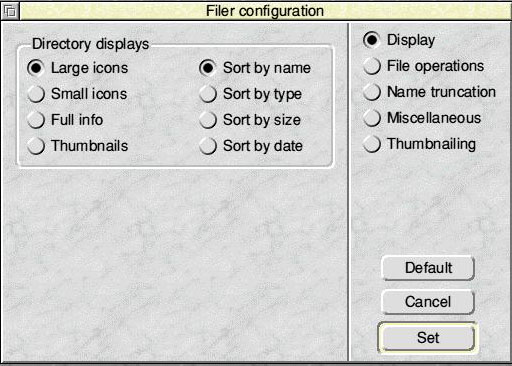
The Directory Displays window works just as that within the Filer menu.
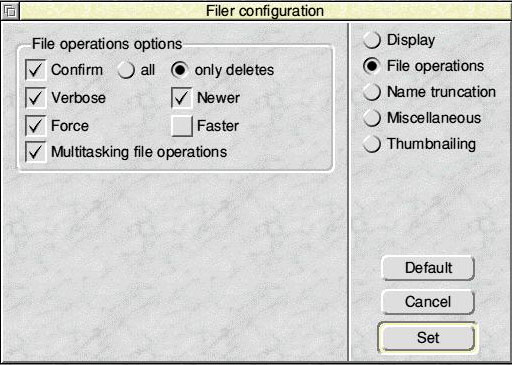
The File Operations window also works as per the filer menu within RISC OS.
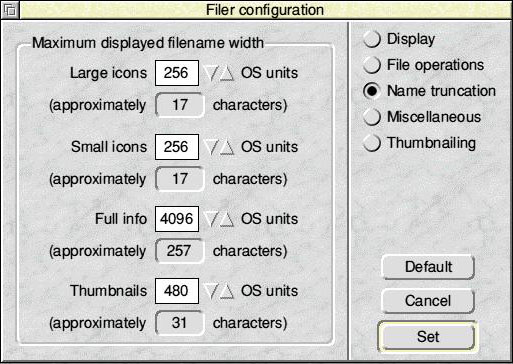
The Filer Configuration window allows you to set the length assigned for file and folder names in Filer windows. If you often use long names you may wish to increase this, but it affects the spacing between objects in a directory viewer so the more space assigned the further apart they are and the less will be seen at once in any given size window.
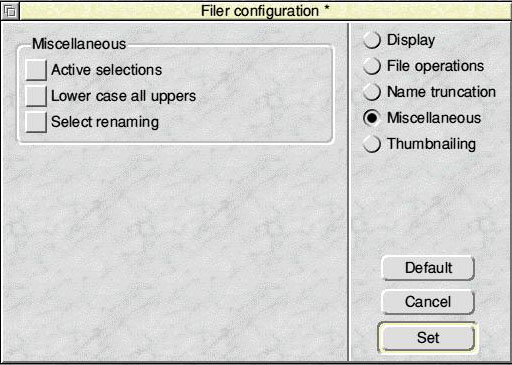
The Miscellaneous window provides three options:
- Active selections
- Lower case all uppers
- Select renaming
To see the effect of each on the filer, click each in turn then 'Set'.
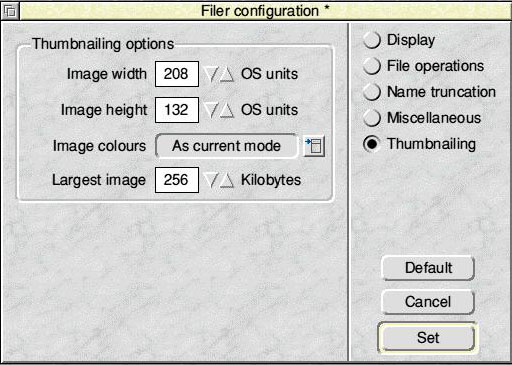
With RISC OS Adjust, you can now view thumbnails of graphics within a filer window. The Thumbnailing Options window allows you to decide the width and height of the image; the number of colours that should be displayed and the largest size of image to display.
Unless you have lots of memory installed in the computer, you should keep the default values.
Fonts
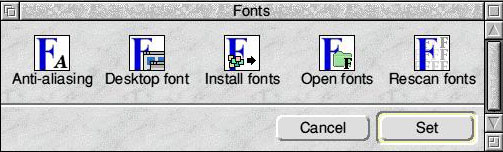
The Fonts configuration tools allow you to configure attributes relating to fonts within the RISC OS operating system. Click the Fonts icon to open this window.
Within the Anti Aliasing section you can control the quality of text as it appears on the screen. Clicking 'Anti Alias' and 'Cache Bitmaps' will respectively improve considerably the quality of text as it appears on screen and the speed it's rendered at. If you set the 'sub-pixel anti-aliasing' flags the quality of the text will be improved further, but the memory consumption will rise accordingly.
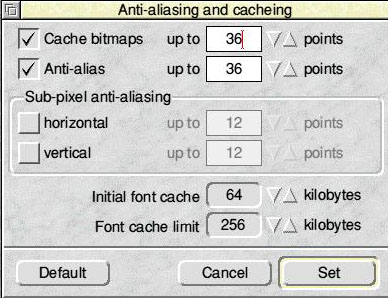
The Font cache limit should never be less than 256 kilobytes; as with RISC OS Adjust using a font for the desktop it's always in use.
Clicking Desktop Font opens up this window.
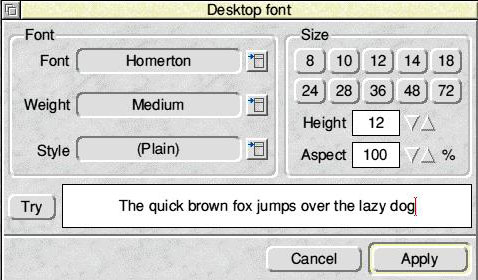
Using this window you can decide the font, weight, style, size and height of the desktop font. Fiddle with the settings in the 'Font' and 'Size' areas, then click 'Try' to see the result before clicking 'Apply' and forcing it onto your desktop.
The Install Fonts option opens a window into which you can drag a '!Fonts' folder and merge it with the fonts contained on your hard disc. The next option, Open Fonts opens a window into those fonts which you can also drag individual font folders into.
Finally, Rescan Fonts checks the font directory for any new additions and adds them to your system.
Help
The Help option allows you to control how and when help windows should appear on the screen. Click Help to open this window.
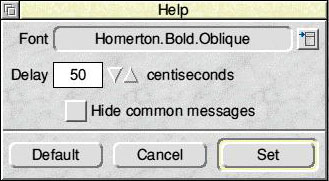
Click within the 'Font' drop-down menu to choose the font to be used; and in the delay section enter the delay [in centiseconds] before help should appear at the pointer. As a word of advice, the default will suit the majority of needs.
We will continue our exploration through the RISC OS Adjust Configuration system in the next issue of RISC World.
RISCWorld