Create panel > Lights > Create an omni, spot, or directional light. > Projector Parameters rollout, Spotlight Parameters rollout, or Directional Parameters rollout
You can make a light object into a projector by choosing a map for the light to project. A projected map can be a still image or an animation.

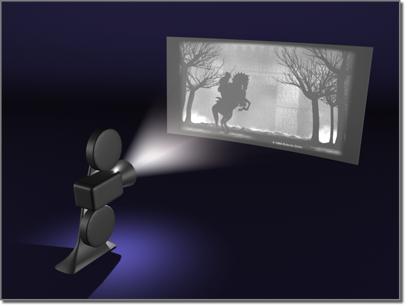
Casting a projection with a light
For Omni lights, a specific Projection Parameters rollout is displayed, which includes only the projection controls. For spotlights, these parameters are part of the Spotlight Parameters rollout. For directional lights, they are part of the Directional Parameters rollout.
Procedures
To make a light a projector:
 Open the Material Editor.
The Material Editor is where you adjust the map's parameters.
Use an unused sample slot to display a map.
Drag the map from the Material Editor to the light's Map button. A dialog asks if the projection map should be a copy or an instance. Choose Instance. If you choose Copy, adjusting the map in the Material Editor has no effect on the projected map.
You can also drag from any other used map button.
Assigning the map displays the map name in the button, and turns on the Projector toggle. After you have set up the map, you can turn off Projector to not use the projected image.
An alternative is to click the Map button. This displays the Material/Map Browser, which lets you choose the map type. At this point, the light behaves as a projector. To assign a map or adjust its parameters, you need to use the Material Editor.
Note: Lights project maps only within their cone, even if Overshoot is turned on.
To put the map in the Material Editor:
Drag from the light's Map button to an unused sample slot in the Material Editor.
Note: Sample slots with white triangles in the corners indicate materials that are used in the current scene.
You can adjust the map in the Material Editor by changing the map's parameters.
To blur a projection map:
Increase the value of Blur Offset in the map's Coordinates rollout in the Material Editor.
Tip: You can animate Blur Offset to have a projected map go in or out of focus.
To make the shape of the light fit the projected bitmap:
Choose a bitmap to project, as described in the preceding procedures.
Make sure the light's shape is set to Rectangular, and then click Bitmap Fit.
A file selection dialog is displayed.
Choose the same bitmap you chose for the standalone map, and then click OK.
You can also choose a bitmap other than the one the light projects.
Interface

Projection Parameters rollout for omni lights
These parameters control projection. For Omni lights, they appear in their own rollout. For spotlights, they appear in the Spotlight Parameters rollout. For directional lights, they appear in the Directional Parameters rollout.
Check box: Turn on to project the map selected by the Map button. Turn off to turn off projection.
Map: Names the map used for the projection. You can drag from any map specified in the Material Editor, or any other map button, and drop that map on the light's Map button. Clicking Map displays the Material/Map Browser. You can choose the map type using the Browser, then drag the button to the Material Editor, and use the Material Editor to select and adjust the map.