 |
Under the Region menu choose Import... to add source audio to your
new project. You can also use the hotkeys Left Amiga-I or simply I for
this operation.
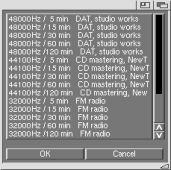
A window like the one at left will open, along with an ASL requestor
allowing you to select your file. The audio for this tutorial is located in the
Tutorial1/Audio drawer. Once a selection is made, PSA will display
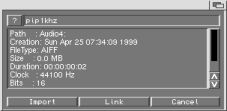
info on the file - format, sample rate, length, etc.
Now you are faced with a decision - Import, or Link? What's the
difference? Well, importing actually copies the audio into a subdirectory of your
project directory. Linking lets PSA use the sample in its current location.
Importing is typically the preferred method, as it allows for a clutter-free project -
plus you always know where your audio is located. For the sake of this tutorial,
select Import. Now, go through and select each audio file for the tutorial.
|