From the Insert menu choose Picture
and choose a picture for the button bar background.
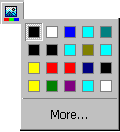
Select the picture and click the Change Color button.
Choose a color for the picture.

Insert a button by clicking  .
Remove the emboss effect on the button by clicking
  .
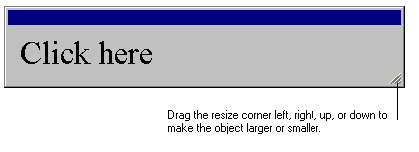
Place the button on top of the picture and resize its width to fit the width of the
picture.

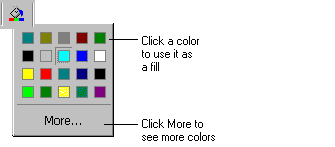
Click the Fill button and change the color of the button to
white.

With the button still selected, choose Make Transparent
from the Format menu. Move the transparency slider halfway
between the second and third tick marks and click OK.
Click the text on the button and choose Font from the Format menu. Change the font if you want and make the text color
white
From the Format menu choose Shadow.
Choose black as the shadow color and decrease the amount of blur on the shadow by moving
the Blur slider a little to the left.
Move the shadow inwards toward the text by moving the horizontal position slider to the
left just above the blur slider until it is just a little to the right of the center tick.
When you are finished click OK.
Insert another button from the toolbar (it will be exactly the same as the button you
just created).
Move the new button under the first one leaving a space about half the button’s
height between the two buttons.
Change text on the buttons as desired.
Continue inserting buttons until you have all the ones you need.


