TestDisk Documentation

Documentation by Christophe Grenier,
Simone Brandt and Daniel B. Sedory
TestDisk á Data á Recovery á Utility
TestDisk Documentation |
 |
|
| á | ||
Documentation by Christophe Grenier, | ||
TestDisk, http://www.cgsecurity.org, is OpenSource software and is licensed under the GNU Public License, http://www.gnu.org/licenses/gpl.html.
TestDisk was primarily designed to help recover lost partitions and/or make non-booting disks bootable again when these symptoms are caused by faulty software, certain types of viruses or human error (such as accidentally erasing your Partition Table). You can also use TestDisk to help analyze the sectors copied from a hard drive with physical problems onto a good drive.
If there are bad sector on your hard disk, you need another disk to copy the data ont it.
The new disk can be bigger, it's usually not a problem because the number of heads per cylinder (255)
and sectors per head (63) will be the same if both disk use LBA mode.
Under Linux, run dd if=/dev/old_disk of=/dev/new_disk conv=noerror to copy the data.
Linux version of TestDisk can work on disk image. The disk image must be avaible under hdimage name in the working directory.
TestDisk can run under DOS (either real or in a Win9x DOS-box), Linux or FreeBSD (see the section below on Compiling ). But TestDisk will á find á lost partitions for all of these types:
TestDisk is a true 32-bit program (compiled under DJGPP), so a DPMI server program (cwsdpmi.exe) is included in the download which allows TestDisk to run under 16-bit DOS.
TestDisk queries the BIOS ( DOS/Win9x) or the OS ( Linux, FreeBSD) in order to find the Hard Disks and their characteristics ( LBA size and CHS geometry). TestDisk does a quick check of your disk's structure and compares it with your Partition Table for entry errors. If the Partition Table has entry errors, TestDisk can repair them. If you have missing partitions or a completely empty Partition Table, TestDisk can search for partitions and create a new Table or even a new MBR if necessary.
However, it's up to the user to look over the list of possible partitions found by TestDisk and to select the one(s) which were being used just before the drive failed to boot or the partition(s) were lost. In some cases, especially after initiating a detailed search for lost partitions, TestDisk may show partition data which is simply from the remnants of a partition that had been deleted and overwritten long ago. Because of this possibility, one should always 1) Give each new partition a unique label name, and 2) Whenever you decide to delete all existing partitions on a drive in order to 'start all over again' to 'zero-out' every byte on the disk first. This procedure will remove all remnants of previously existing partitions (manufacturers often include routines to 'zero-out' a drive in a utility program downloads section on their web sites). If one isn't available, or if you're not removing all of the partitions from a drive, you could at least use a 'wipe free space' utility after installing a new OS or resizing a drive's partitions.
TestDisk has features for both novices and experts. For those who know little or nothing about data recovery techniques, the command line parameters /log and /debug can be used to collect detailed information about a non-booting drive which can then be sent to a tech for further analysis. Those more familiar with such procedures should find TestDisk a handy tool in performing onsite recovery.
Warning: If you use TestDisk to recover lost partitions on a target hard drive by connecting the drive to a computer other than the one it was originally partitioned and formatted on, you risk the chance of having incorrect data about the drive passed along to TestDisk from the BIOS of this other computer. BIOS chips have at least two different ways of translating disk geometry, and using the wrong data may make it impossble for TestDisk to correctly recover a drive's lost partitions; or worse, you may write the wrong data to the drive's MBR, boot up the disk and then incorrectly write data to the disk leading to further corruption and loss of data. ( This may not apply to all file systems.)
- run "testdisk á/log á/debug" (make sure to hit the space bar once before each slash),
- select the faulty hard disk using arrow keys then press the ENTER key,
- after TestDisk is finished (Note: you may need to press the ENTER key a couple more times during its processing), choose Search! to restart the analyse.
- just send the file which TestDisk creates, testdisk.log, to grenier@cgsecurity.org
á ( Note: TestDisk appends new information to testdisk.log; it does not overwrite an existing file.)
When TestDisk is executed, you may see the phrase "Please wait..." on your screen until it has gathered enough data from the BIOS or OS to list the disk drives on the system.
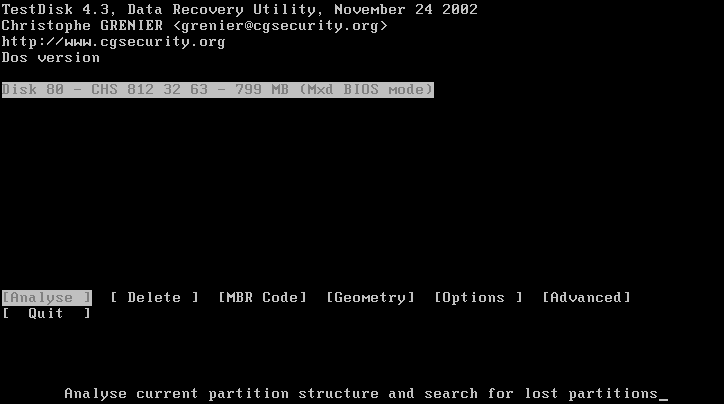
á á Analyzes a drive's current partition structure and searches partition making it possible to recover lost partitions.
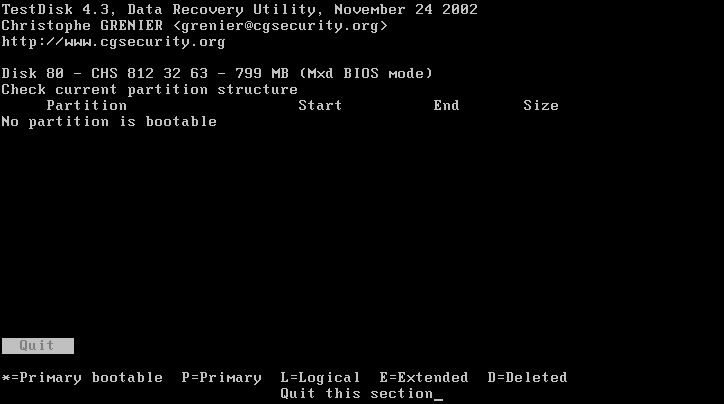
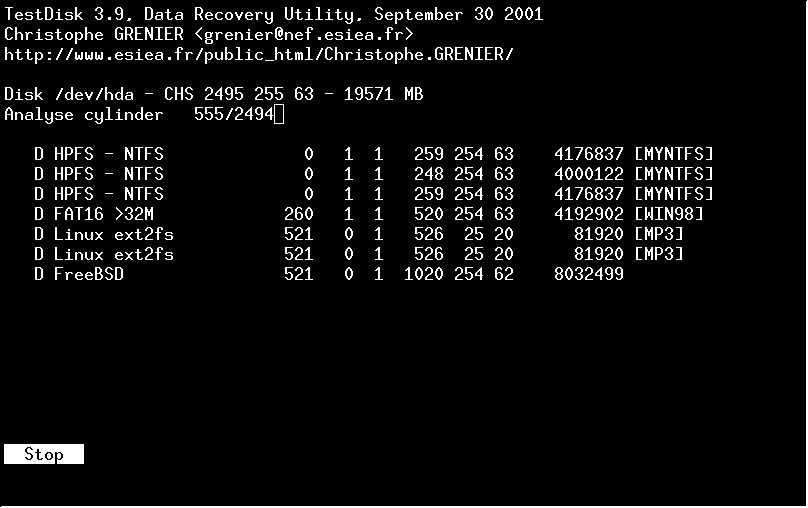
á á TestDisk assumes the existence of partitions and scans all relevant drive cylinders for them. A primary partition starts at the beginning of a cylinder (head=0, sector=1), while a logical partition starts a little further along (head=1, sector=1). For each possible partition starting location, TestDisk can search for the presence of a partition header, which confirms the presence of a known partition type. Thus, the size of a partition is determined directly from its structure on the disk. Each partition that TestDisk discovers is added to a list of found partitions.
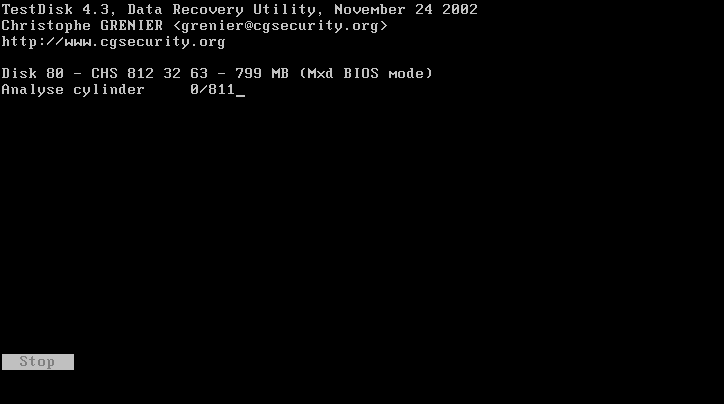
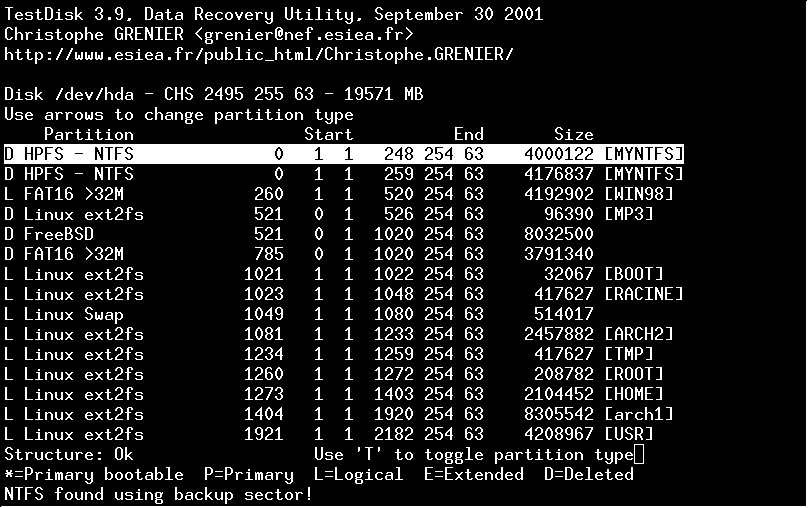
á á Once the analysis is complete, TestDisk generates a report of found partitions.

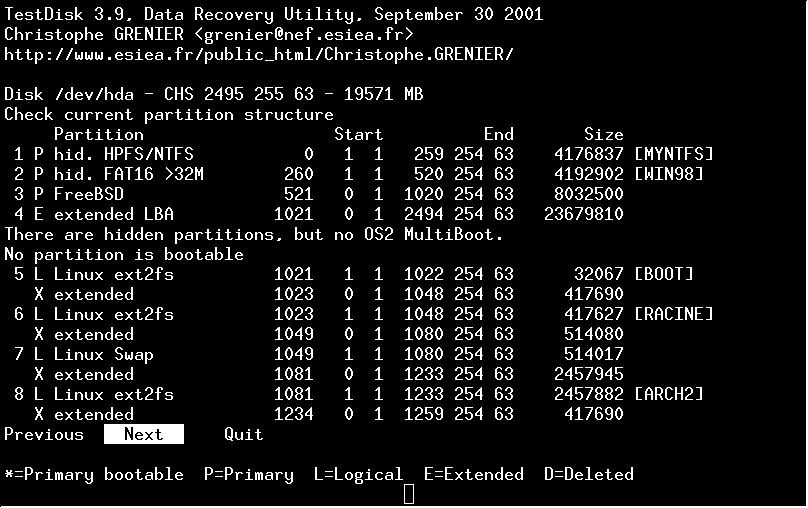
You can list files of FAT/EXT2/EXT3/RFS partition by pressing P
(FAT directory listing is limited to 5 clusters, some files may not appears).

You can also change the partition type with T or add another partition with A.
With the left/right arrow key, you can change the status of the selected partition between
Primary, * bootable, Logical, Deleted.
Structure: Ok should appear if everything is ok, i.e. no primary partition between two extended, one or less bootable partition,
no partition using the same disk space.
TestDisk gives the user a choice of writing that data to the drive's Partition Table, or of running a more detailed analysis; one in which the option "Paranoid" (see Options below) will be set to search for a partition at every possible location.
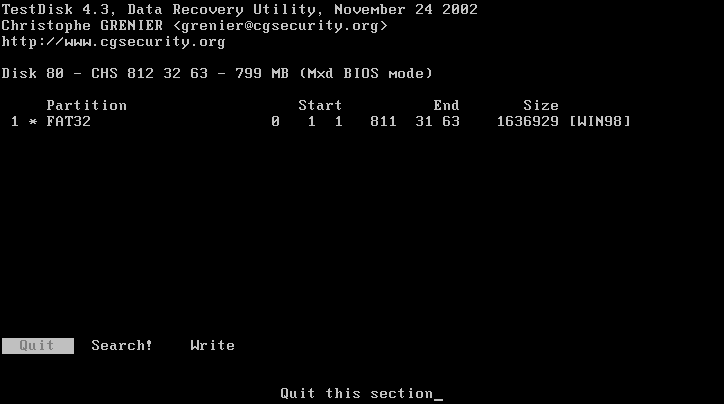
Anyway TestDisk ask you to confirm the Write operation.

Deletes all partition data from the Partition Table only (by filling it with zero bytes). Both the MBR Code and the signature bytes (if any) remain the same.
TestDisk overwrites the code and MBR signature (the hex Word 0xAA55) with a
copy of the Standard Master Boot Record (similar to MS-DOS's fdisk with
the 'undocumented' /MBR switch). This might be useful if your system
doesn't boot at all, and you've tried everything else!
[ For a
fully-commented copy of the Standard (or 'classic') MBR code, see:
An Examination of the Standard MBR (edited copy at CGSecurity.org; France) or: An
Examination of the Standard MBR (original USA site). ]
Change hard disk geometry parameters (Cylinders, Heads, Sectors). For Experts only.
Skip this unless you're familiar with changing disk geometry. These numbers change the way that TestDisk looks for partitions and calculates their sizes, etc. It does not affect the hard drive itself, unless you actually write data about lost partitions to the drive. Choosing the wrong geometry settings and then saving any lost partitions based on those faulty settings might make it impossible to recover your data.
To access data, the BIOS often uses a geometry (Cylinder/Heads/Sector) different than the physical geometry.
The i386 partition handling programs very often make partitions end on cylinder boundaries. A method uses by BIOS is to read the partition table and to guess the number of heads. When the partition table is cleared or corrupted, the physical disk geometry may be used instead. It become hard for partition recovery utilities to find lost partitions on the hard disk.
This problem is not limited to DOS users. Linux users can also affected.
Under Linux, run dmesg and search for Partition check.
In the following exemple, the geometry of harddisk hdc is determined by the partition table (PTBL).
Partition check:
 hda: hda1 hda2 hda3 hda4 < hda5 hda6 hda7 hda8 hda9 hda10 hda11 hda12 hda13 >
 hda3: <bsd: hda14 hda15 hda16 hda17 >
 hdc: [PTBL] [7476/255/63] hdc1 < hdc5 hdc6 hdc7 hdc8 hdc9 hdc10 hdc11 hdc12 hdc13 >
Under TestDisk, uses the Geometry menu to change the logical number
of heads. Try 255, 240, 128, 64, 32 and 16 heads until you found the correct
geometry.
Can be changed by first 'highlighting' the Option and then toggling the ENTER key, or by just toggling the underlined letter in the Option name on the keyboard; whether highlighted or not.
Only for expert use in trying to recover and repair OS Boot sectors!
TestDisk let you manipulate the boot sector of FAT and NTFS partitions.
Select the partition you want to modify and choose Boot.
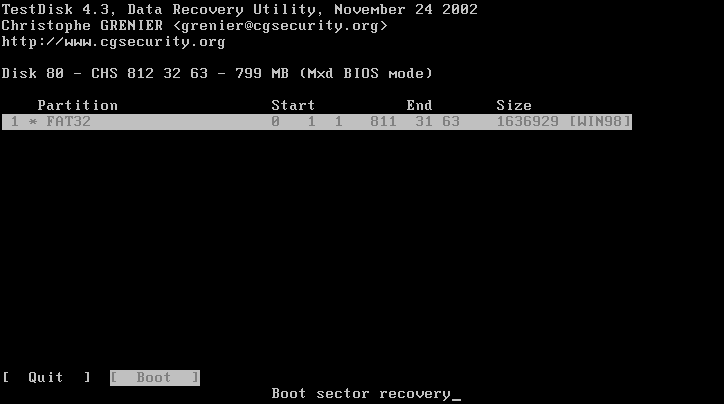
If the boot sector and backup boot sector mismatches (FAT32 and NTFS only), you can copy overwrite the backup boot sector with the boot sector or vice versa. You can also rebuild FAT boot sector or dump the boot sector content.
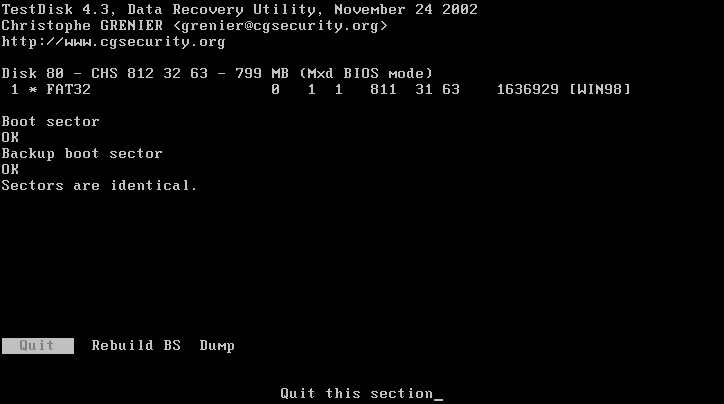
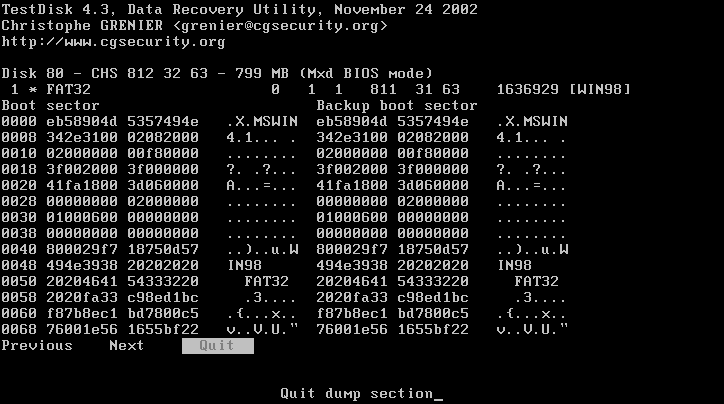
When TestDisk try to rebuild a FAT boot sector, the steps are
If the superblock of a reiserfs partition is missing, it can be rebuild
with reiserfsck --rebuild-sb device.
When run, Microsoft Fdisk destroys some data. While "checking disk integrity", FDISK writes hexadecimal F6h into the first and 7th sectors on each track. If you have accidentally deleted a volume, do not run fdisk! More info here
Read Compile_DOS.html, Compile_Linux.html or Compile_BSD.html
If you want to subscribe to TestDiskDev, send a mail to sympa@sympa.global-asp.net with "subscribe testdisk-dev" in the body or in the subject
Our mailing list is about:
- bugtracking and developing TestDisk
- developing new functionality
- various other data recovery related issues
We're interested in people to team up with who:
- are familiar with programming
- are familiar with data recovery or
- are interested in doing tests on computers they can access
- Solaris recovery
- Windows 2000/NT port
- Save/Undo function
- a partition copy function
- a disk copy function
- a save/restore MBR function
Some examples of data recovery can be found here.

