FTP Upload Tutorial Step 1: Upload
A. Selecting Files to Upload
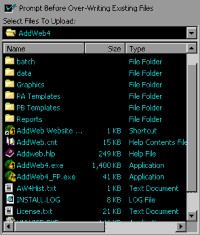
You will see on the lower half of the screen that you have the local directories and files on your hard drive listed in the left hand window.

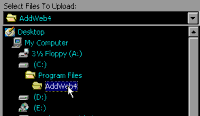
You should click on the pull down to start the search for your files if you did not start in the local directory that contains your website to begin with.

B. Where do the files go?
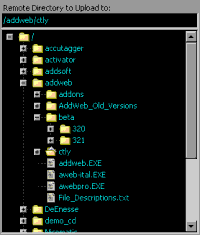
When you locate your web pages to upload, you will want to make sure you are sending them to the correct location. You can navigate the remote files and directories on the FTP Server by clicking on the plus signs next to the directories you will see listed there. You will see your current pages here also, but they will not have a plus sign next to them.

C. Send the Files up!
The top field will show you the directory you are currently in on the FTP server. make sure the directory selected is where you want to send your files to and select the file(s) you want to send, then click on the Upload Selected button to send only the files you select or Upload All button to send up the entire current local directory.

AddWeb will then send the files (Web Pages) to the FTP Server and they will be able to be viewed by your visitors. When the upload is complete, you will want to log out of the FTP Server. Just click on the same button you clicked on to Log In. You will see it has changed to LogOut.
Now that your files are in place, let's get on with Promoting your Website! Go to the Submission Tutorial now.
AddWeb
Website Promoter 4
Copyright ⌐2000, Cyberspace Headquarters, LLC. All rights reserved.
For sales questions, please send E-mail to the Cyberspace HQ Sales Department.
For support questions, please visit the AddWeb Support Web Page.


