Home | Main Window | Ideas | Index | Isaac On The Web | Downloads
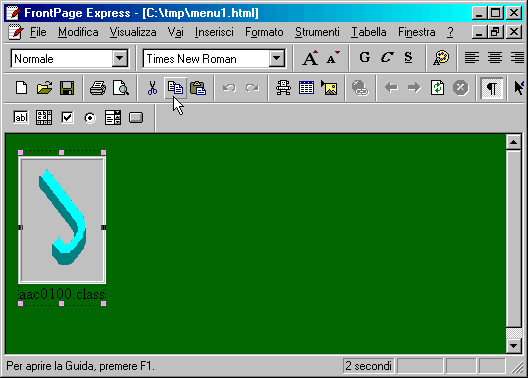
When you use the Export function, Isaac creates an HTML file containing the code needed to display your artwork and copies the image files and the class file into the same folder of that file, if the apposite option is set.If you edit your web pages with a visual editor, open the HTML file generated by Isaac and copy the applet. Editors display applets using a placeholder. This is an Isaac-generated file opened with Microsoft FrontPage Express:

Once you have copied the applet, open your HTML file and paste it. If your file is in another folder, you must also copy or move the .class file and the images to that folder. In general, it is better to export the files in the final folder directly.
If you are using a text editor, simply open the Isaac-generated file and copy the code between the comments, i.e.:
<!- Start copying code here ->
... the code to be copied ...
<!- End copying code here ->
Paste that code into your page and that's it! Again, remember to put images and the .class file into the same folder of your own HTML file.
If you really need to put images in a different folder, you must manually edit a parameter of the applet. Look at this example:
<PARAM NAME=i VALUE='leaves.jpg;favorites.gif'>
The "i" parameter contains a semicolon-delimited list of file names. That's a list of all the images required for that artwork. For example, you could change it to
<PARAM NAME=i VALUE='images/leaves.jpg;images/favorites.gif'>
If you know HTML syntax, it should be quite simple for you. If not, please don't do it.