You can use Claris Home Page to add Java applets, small applications written in the Java programming language, to your Web page. Java applets offer an endless possibility of special effects that can be as simple as making an image dynamic or as complex as monitoring real- time data from a browser. Applets can be downloaded from a Web server and run on most computers.
Many Java applets are available for free, or as shareware on the Web, for you to customize and use in your Web pages if you don't want to create them yourself. Claris Home Page 3.0 comes with some sample applet files you can modify or use as they are.
To view and interact with a Java applet, you need a "Java-enabled" Web browser, such as Netscape Navigator 3.0. You must preview your page in the browser for the applet to run.
When linking to a Java applet, you create a link to a .class file. This .class file may then reference other files, which need to be in the same directory (Windows) or folder (Macintosh). For more information about a specific Java applet, refer to the readme file or documentation included with the Java applet.
To insert a Java applet into a Web page:
Note If you did a complete install from the Claris Home Page CD-ROM disc, sample applets are located in the Contents folder in the Claris Home Page 3.0 folder.
Once you've inserted the applet, you use the Applet Object Editor to specify the parameters of the applet.
To open the Applet Object Editor, do one of the following:
To apply any new settings you make in the Applet Object Editor, press Tab or click the close box of the Applet Object Editor.
Some applets are designed to be customized. For example, a ticker tape applet allows you to specify a value for the text parameter that scrolls your words across the screen. You can specify applet parameters and their values in the Applet Object Editor.
To specify a parameter for an applet:
To delete a parameter, select the parameter in the list and click the Remove button.
Macintosh: Click Restore All to clear the settings and reset all Name/ Value pairs to their original names.
To apply your changes, press Tab or click the close box of the Applet Object Editor.
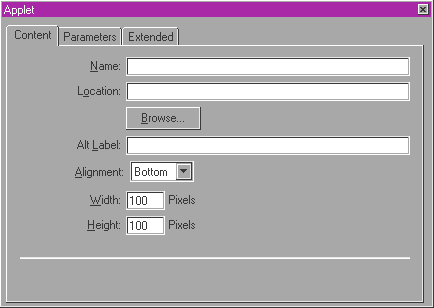
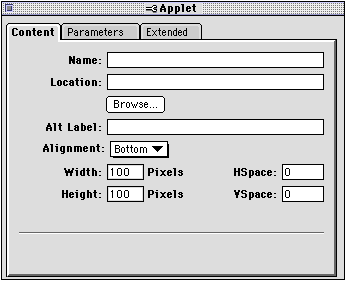
You can use the Applet Object Editor to change the width or height of the applet, realign the applet in relation to text on the page, or set the amount of white space around the applet.
To apply your changes, press Tab or click the close box of the Applet Object Editor.
To change the height or width of the applet:
To change the alignment of the applet in relation to text on the page:
|
Choose this option |
To do this |
|---|---|
|
Top |
Align the top of the applet with the top of the text next to it. |
|
Middle |
Align the middle of the applet with the text next to it. |
|
Bottom |
Align the bottom of the applet with the bottom of the text next to it. |
|
Left or Right |
Place the applet on the left or right side of the page and have text flow around it. |
To set the amount of space around the applet:
You can add your own additional HTML directly to the applet element using the Applet Object Editor.
Note This is an advanced feature that requires knowledge of HTML; it specifies additional parameters for the <APPLET> tag.
To add extra HTML to an applet:
To specify an alternate HTML tag that is used by browsers when the other tag is unsupported:
When you insert an applet into your Web page, the applet name and location-the path to the folder where the applet is located-appears in the Applet Object Editor. You can change the name and location to refer to a different applet. Claris Home Page updates the reference to the new applet file.
To change the name or location of the applet:
To have two applets on the same page find and communicate with each other, you need to specify an instance name for both of them.
To specify the applet instance name:
You can provide an alternative message to appear instead of the applet whenever a page containing applets is viewed with a browser that does not support applets.
To provide an alternative message: