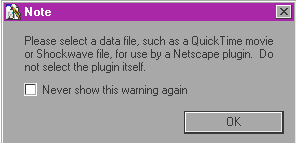
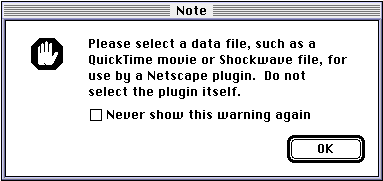
A message appears warning you to not select an actual plug-in, but the multimedia file for it instead.
An icon representing the multimedia file appears on your Web page.
Web browser plug-ins are small applications that extend the capabilities of the browser to read your files in a specific way. Plug-ins make it possible for browsers to support more than HTML, JPEG, or GIF files on the Web. They tell the browser to open files in a specific application on your computer. For example, a QuickTime plug-in tells the browser to open any files that have the QuickTime extensions .mov or .snm in the QuickTime application on your computer.
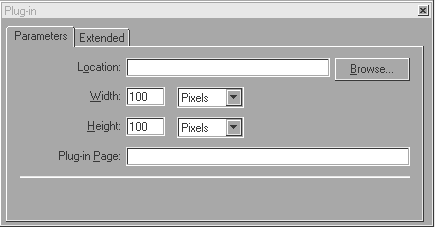
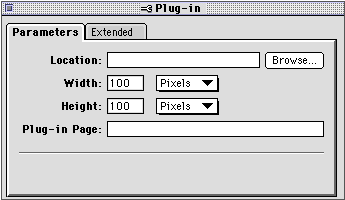
With Claris Home Page, you can insert multimedia and specify parameters or change its attributes in the Plug-in Object Editor.
When you insert multimedia into your Web page, Claris Home Page creates a reference link to the multimedia file and displays an icon that represents the file in Edit Page mode. To view or hear the actual media, use Preview in Browser mode.
To insert multimedia that requires a browser plug-in:
Once you have inserted a multimedia file into your page, you can use the Plug-in Object Editor to change the location of the file, specify the width and height of the multimedia display, and provide a URL that has a plug- in available for downloading.
To open the Plug-in Object Editor, do one of the following:
To apply the new settings, press Tab or click the close box of the Plug- in Object Editor.
In the Plug-in Object Editor, you can set Claris Home Page to:
To update the path to where a multimedia file is located:
To change the display size of the multimedia using the Plug-in Object Editor:
To change the display size using the mouse:
To specify a link to a required plug-in:
When your audience cannot see the multimedia on your page because
the required plug-in is missing from their systems, their browsers
display a message similar to this:
"This page contains information of type "xxxx" that can only be
viewed with the appropriate plug-in. What do you want to do?"
If they click the Plug-in Info button to get the plug-in, the plug-in
page that you specified in the Plug-in Object Editor appears.
Clicking Cancel closes the message.
You can add your own HTML directly to the plug-in element using the Plug-in Object Editor.
Note This is an advanced feature that requires knowledge of HTML; it specifies additional parameters for the <EMBED> tag.
To add extra HTML, double-click the plug-in icon to open the Plug-in Object Editor. Click the Extended tab and type the HTML in the Extra HTML Attributes text box. The HTML that you type is added to the <EMBED> tag.