Adding a submit button
You need to include a submit button for your audience to send
their information. Each time someone clicks the submit button, the
information filled in the form area is sent to the CGI script.
You can add more than one submit button and assign a different
action name to each one that corresponds with the different actions
supported by the CGI script. When someone clicks on a particular
submit button on your form, the data is sent to the CGI script and
handled according to the action specified for that submit button. For
example, one submit action name may add a record to a database.
Another action name may delete a record.
Submit buttons must call a CGI script to function properly. For
this reason, you won't be able to test their functionality in Edit
Page or Preview Page mode.
To add a submit button to the form area:
- Place the insertion point inside the red border of the form
area.
- Choose Forms
from the Insert menu and then choose Submit Button from the
submenu.
Claris Home Page inserts a submit button form element and opens
the Submit Button Object Editor.


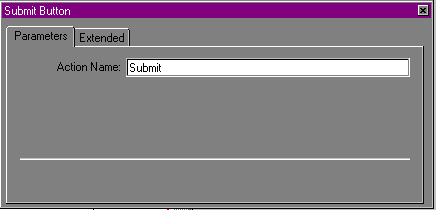
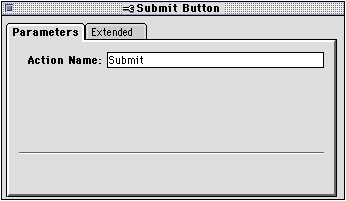
- If you're adding more than one submit button to your form,
type the name of the action in the Action Name text box.
The action name identifies how the button works and is not the
button label.
Note Some older
browsers do not support multiple submit buttons associated with
separate names and values or actions. Also, actions supported by a
CGI will vary from script to script. Check the documentation that
comes with your CGI script to be sure you use an action name that
is supported by your CGI.
- Close the Submit Button Object Editor.
When you add a submit button to your form, the default label
appears in it.
To change this label so that the viewer sees something different:
- Double-click the text Submit in the form element to
select it and type the new text.
Using an image as a submit button
You can turn an image into a submit button, so that when someone
clicks on the image, the form is submitted.
For information on other ways to use an image, see
Making images interactive.
To use an image as a submit button:
- Insert the image into the form area on your page.
- Double-click the image to open the Image Object Editor.
- Click the Behavior tab in the Image Object
Editor and select Form
Submit Button.
- Click the Appearance tab, type the action
name (for example, submit) in the Name text box.
Note Some older
browsers do not support multiple submit buttons associated with
separate names and values or actions. Also, actions supported by a
CGI will vary from script to script. Check the documentation that
comes with your CGI script to be sure you use an action name that
is supported by your CGI.
- Close the Image Object Editor to apply the new setting.
Previous topic |
Contents | Next
topic