|
______________________________________________________________Basic
Gameplay Strategy
ECONOMY
The
resources in Empire Earth are food (fish, vegetables, and game),
wood, iron, stone, and gold. Food and wood are the building blocks
of your civilization, for they allow you to make citizens and
build many of your basic buildings. To increase production, you
can assign up to six citizens to every one plot of vegetables,
stone, gold, or iron. 
When
it comes to priorities, at first youÆll want food so that you
can make more citizens. When you have enough citizens (10 to 15 is
a good start), keep six on food and assign the rest to cutting
wood. After building the appropriate buildings, begin mining the
heavier metals ù starting with at least two citizens on each
resource area. (Build up to six if you know youÆll need more
resources later.)
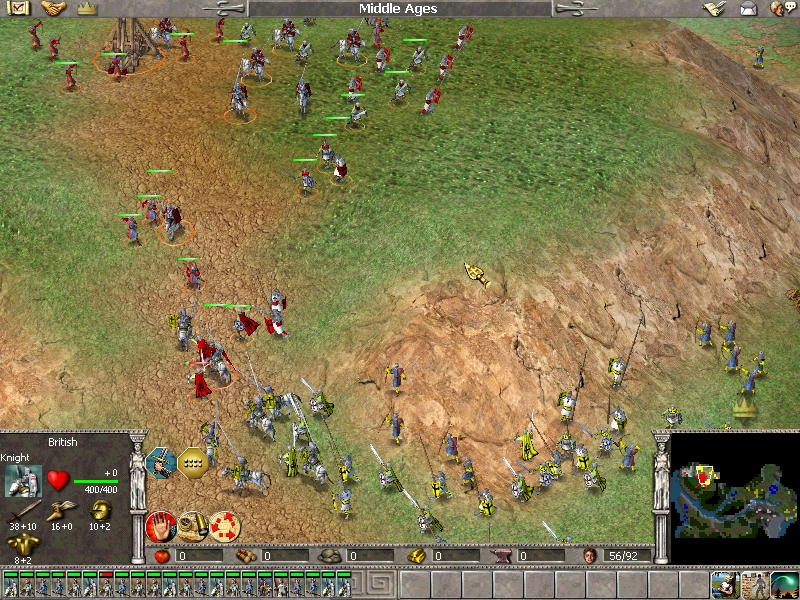
Maximize
your citizensÆ efficiency by putting up to six workers on each
hill. >
Fishing
is a good way to avoid worrying about food gathering. If there are
fish in the water and you can build a dock, build six fishing
boats and put them to work. This tactic is especially good when
game is scarce, and itÆll free up your citizens to do other
chores. Build at
least two warships to protect your fishing fleet.
Turning
a settlement into a town center is a good idea only if your
settlement is far away from your starting town center, or if you
need extra defenses. The added hit points and the ability to crank
out citizens to go right to work is a nice bonus, but if the
settlement is near your starting town center and/or within castle
walls, itÆs best not to waste the citizens populating it.
As
you get further into the episodes, youÆll start to get a firmer
grasp on what resources youÆll need and will be able to adjust
your citizen workforce appropriately. If you get a stockpile of
1,000+ food or wood, youÆll want to reassign most of your
citizens to start getting other resources. Idle citizens are
useless, but citizens who stockpile a little-needed resource might
as well be idle for all the good theyÆre doing.
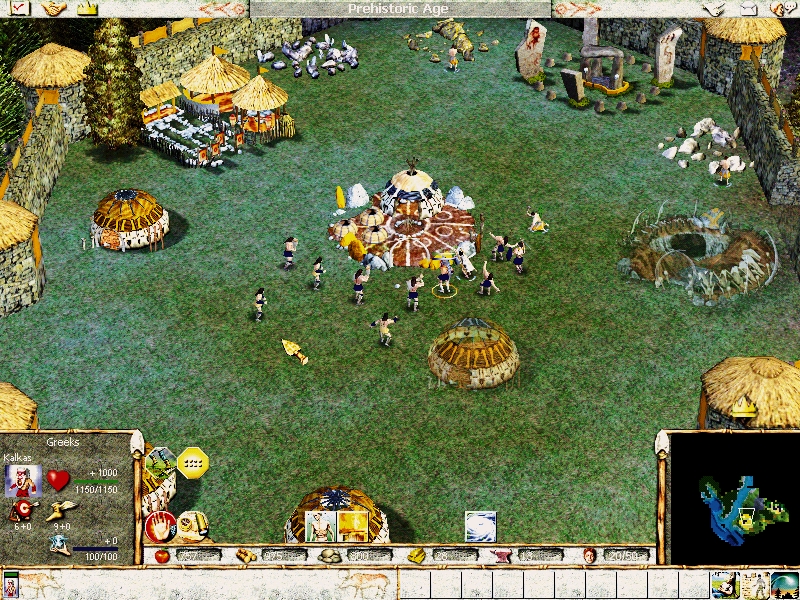
A
neat little feature in Empire Earth is the ôexploreö command.
The command instructs a unit to wander the map, and heÆll run
away if attacked. In prehistoric times, you can even create a
canine scout to do the exploring so you donÆt have to waste a
human unit, who would be better used for gathering food or attacking
a foe.
WAR
 Empire
Earth has hundreds of different battle units. Most of them still
boil down to the basics weæve all seen before. The game adheres
to a strict "rock, paper, scissors"-type game-design
system, so the thing to remember is shock weapons beat arrows;
arrows beat spears; and spears beat shock weapons. The same
rule applies to ships: galleys beat battleships; battleships
beat frigates; frigates beat galleys. Diversify your army and
conquer! Empire
Earth has hundreds of different battle units. Most of them still
boil down to the basics weæve all seen before. The game adheres
to a strict "rock, paper, scissors"-type game-design
system, so the thing to remember is shock weapons beat arrows;
arrows beat spears; and spears beat shock weapons. The same
rule applies to ships: galleys beat battleships; battleships
beat frigates; frigates beat galleys. Diversify your army and
conquer!
<
Enemy citizens repair buildings well, so make sure you kill the
people before moving on to destroying the buildings themselves.
UPGRADING: UNITS AND CAMPAIGN POINTS
Each
unit type can be upgraded in many different ways. These upgrades
affect things like the attack power, range, armor, and speed of
all units of that type. Because these upgrades are costly, you
probably wonÆt want (or be able) to upgrade every attribute of
every unit type. If youÆre going up against towers, for example,
then upgrading the range and power of your archers and siege
engines will be important; but if youÆre wading straight into
bloody battle, attack and armor are most important. On the seas,
speed for your transports and attacking power for your warships
should be a high priority. Keep watch over your scarce resources:
you may have to decide if a group of upgraded phalanxes is more
important than one more battleship.
Campaign
points are given out as rewards when you do something momentous
like finishing a level, establishing a base, and so on. You can
use them to upgrade specific things such as unit attack power,
cost reductions, and speed or range bonuses. You can also upgrade
more abstract things like building range, your population cap, and
resource-gathering efficiency. Once you spend these points,
theyÆre gone, so plan carefully. During the Greek campaigns, for
instance, you wonÆt want to waste any points upgrading any
aircraft or cyber units because you wonÆt encounter any! Duh!
_______________________________________________________Campaign
1: The Greeks
THE EARLY
HELLADIC PEOPLES
A
fairly straightforward mission. Concentrate on heading west, west,
and more west. Once your town is established with working citizens
and a barracks pumping out little rock throwers and club wielders,
move west to take over TroasÆ dock. The bad news is, these guys
have towers. ItÆs safer to take out the towers first, and any
bad guys along the way, and then deal with the dock straight away.
After taking the dock, create two transports. Again, go west (make
sure you take citizens as well as warriors) and then slightly
southwest to find the plateau Hierakles talks about. Strong
warriors on horses will attack you, but the goal here is to
construct buildings, not fight. If you can get your three
buildings up while keeping your heroes alive (a good strategy: lead your
attackers on a merry chase with the priest as bait to buy your
citizens time to build), youæll win!
Upgrading
tips: Armor for all troops.
WARRIORS
FROM THE SEA
DonÆt waste a
lot of time on your little island. Have Pelops and his sons
explore and kill any bad guys as your citizens build a dock, town
center, and barracks. Send a sacrificial warship ahead to draw the
fire of the enemy ships as you send two transports filled with
citizens and warriors to the north. Wait until the town center on
the island is destroyed before you build another one in the north,
since building a settlement and converting it to a town center
costs 100 wood and 250 food (in citizens) while building a new
center after the old one is burned costs only 100 wood. Once your
town is established (make sure you have a hospital!), send some
warriors and citizens south to build a dock and west to settle
near your only supply of stone. When it comes to making your
strikes on the enemiesÆ town centers, the key is religion.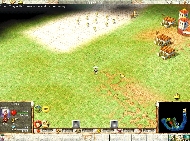 Keep two priests to convert any sole enemy you come across, and
keep two prophets to rain malaria on your enemies. Firestorms will
work to take out town centers if you want to focus your war units
on towers and enemy forces. Be careful, though: the enemy AI
isnÆt stupid. It knows where the attacks are coming from and
will make a beeline for your defenseless priests and prophets, so
make sure theyÆve got some bodyguards. ItÆs a long trek to the
enemy towns, so send some citizens along to build a barracks and a
hospital near the battlegrounds.
Keep two priests to convert any sole enemy you come across, and
keep two prophets to rain malaria on your enemies. Firestorms will
work to take out town centers if you want to focus your war units
on towers and enemy forces. Be careful, though: the enemy AI
isnÆt stupid. It knows where the attacks are coming from and
will make a beeline for your defenseless priests and prophets, so
make sure theyÆve got some bodyguards. ItÆs a long trek to the
enemy towns, so send some citizens along to build a barracks and a
hospital near the battlegrounds.
Upgrading
tips:
Weapons for ground troops.
(above)
Have your prophet curse the troops with malaria before the
fighting begins, or youÆll end up killing your own warriors.
THE
TROJAN WAR
Before you run off to get the help
of the other kings, make sure your town is secure. Set some of
your citizens to build a granary and farms, and send Agamemnon and
a troop of 10 warriors north to secure a sweet patch of resources.
Immediately wall off the area, build some towers, and create your
settlement and upgrade it to a town center. (DonÆt forget to put
a gate so your troops can exit!) After youÆre sure the area is
secure, start visiting the neighboring kings as instructed.
Bolster your troops with several archers and warriors, including
two to three sampsons, two prophets, and at least one priest.
DonÆt forget to send citizens! Send your warships ahead to get
rid of any Trojan fleets. When you make it to the Trojan shores,
get your citizens to immediately build a barracks, archery range,
and hospital. The best way to attack the formidable forces outside
of Troy is to send one unit out as bait and lead a bunch of
enemies back to camp to be slaughtered. Use at least three
sampsons to take out the towers by the gate. When youÆre loading
the Trojan horse, put all four heroes, two sampsons, and all your
archers and elite warriors into the horse (any unit with a horse
besides the heroes will not fit). Concentrate your efforts on
PriamÆs palace and Priam himself, and the destruction of Troy
will be quick and easy.
Upgrading tips:
Archer and Javelin ranged shots; sampson attack rating.
THE
RISE OF ATHENS
This episode
hinges on doing everything in the right order. Set your citizens
to build a granary and a settlement outside the walls. Build a
mixed army of about three to five of each unit type (except
sampsons). Head north to Aphidna first. If their army gives you
too much trouble, retreat to your town and fight within the
vicinity of the hospital. After you conquer Aphidna, take a moment
to put a settlement in the area rich with resources south of the
town. As you lick your wounds,  youÆll
notice a bunch of Aphidna warriors heading east. Follow them for
the easy routing of Pallene. Train some sampsons and break the
walls down in the town of Eleusis to take care of their army. When
Sparta and Thebes attack, stay in your city and let them come to
you. Your new allies will do a lot of the work. Keep your warriors
near the hospital for easy cleanup. youÆll
notice a bunch of Aphidna warriors heading east. Follow them for
the easy routing of Pallene. Train some sampsons and break the
walls down in the town of Eleusis to take care of their army. When
Sparta and Thebes attack, stay in your city and let them come to
you. Your new allies will do a lot of the work. Keep your warriors
near the hospital for easy cleanup.
Upgrading
tips:
Cavalry and bowmen attack and range rating.
<
Enemy units can attack through their own walls, so concentrate on
them and their towers where possible.
THE
PELOPONNESIAN WAR
Patience is your
main virtue in this episode. Put your citizens to work gathering
wood and stone. Train three diplomats and build two of each
warship. Before sending off your diplomat, send all your ships
through the waters to clear out enemy ships. These ships will also
be needed as escorts back to the docks. Do this for every grain
mission. When plague strikes, move the sick people next to the
hospitals ù thatÆll keep up their hit points until the
sickness goes away. While youÆre waiting for your ships to get
to their destination or be repaired, upgrade some of your units.
But ONLY do the upgrades that require wood or stone: you canÆt
afford anything else. Once your food comes in, you can build up
your army to fight Sparta. Send two full transports of troops and
citizens to the far west port of Segesta. Establish a settlement
for the resources and keep the troops there to protect against
Spartan attacks. As youÆre building your resources, go ahead and
send some bait out to lure some Spartans inside the walls to kill
them. (DonÆt send everyone outside or youÆll be targeted.)
Keep luring units inside until theyÆre all gone. You can then
start advancing west to get rid of all the leftover Spartans.
Upgrading
tips:
Ship speed (especially transports and grain ships).
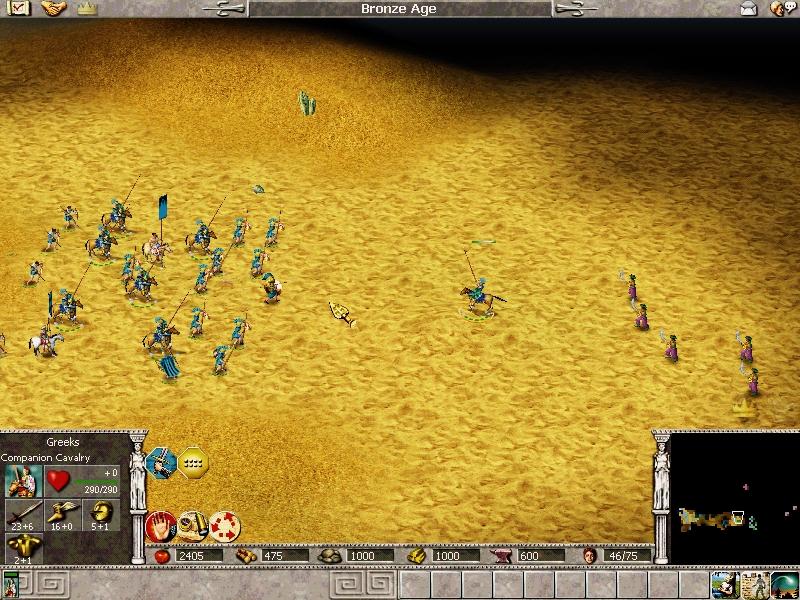
YOUNG
ALEXANDER
Your first goal
is optional: you can choose to take Aristotle back to Mytilene to
gather some herbs to elevate him to a prophet, but you donæt
have to. Maneuver carefully through the hurricanes on the way
there and back. HeÆs an expendable hero, though, so donÆt
panic if you lose him. Train some Companion Cavalry and head south
to conquer Thebes. Use the extra gold you get to replenish your
troops. Athens will also be relatively easy to take, but right
after conquering them, Spartans will swarm the shore and head
north to take your city. Follow them north and attack their backs,
and then send all the units you can muster to stop the invasion.
After they stop attacking, youÆll have to set your remaining
warriors on ôexploreö to catch the last of the invaders.
Upgrading
tips:
Unit speed and Companion Cavalry attacking.
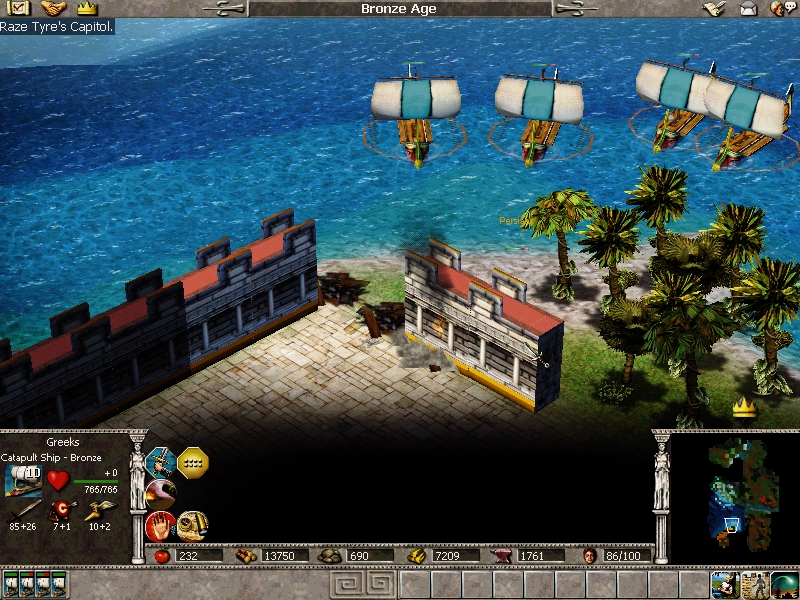
A
CONQUEROR IS BORN
Concentrate again
on luring the Persians across the river a little bit at a time to
protect your units. After taking the city of Antioch, build six catapult ships and start
taking out the battleships and towers surrounding the Persian
isle. After eliminating the towers and a wall section, take a
moment to annihilate the troops rushing to the beach. Land
transports with your ground troops and focus the bowmen and
phalanxes on the troops and focus the catapults on enemy siege
units and remaining towers.
taking the city of Antioch, build six catapult ships and start
taking out the battleships and towers surrounding the Persian
isle. After eliminating the towers and a wall section, take a
moment to annihilate the troops rushing to the beach. Land
transports with your ground troops and focus the bowmen and
phalanxes on the troops and focus the catapults on enemy siege
units and remaining towers.
Upgrading
tips:
Build catapult ships up to 10.
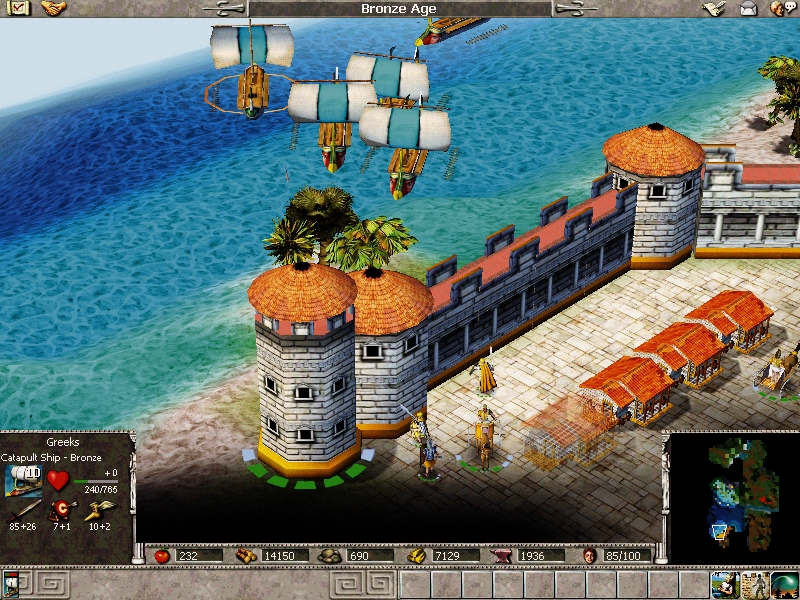
Catapult
ships are the best tools for removing walls. >
AND
ALEXANDER WEPT
You need to
decide whether to (a) set up town centers in villages to get the
food, wood, and civilization points, or (b) raze the cities to the
ground to plunder for gold and iron, which are scarce. Given that
there are two cities of this kind, itÆs best to plunder the
southern and take over the northern, building a hospital and
military buildings to support your next attack. Since the enemy
baiting h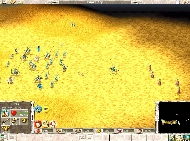 as
worked so well so far, donÆt stop now. Bring enough of the
Persian army across the strait to be slaughtered by your men, and
then pursue them to the walls. Save your gold for siege engines
youÆll need for the walls. Follow the canyon and get rid of any
stray people or catapults youÆll find. Then, when you enter,
watch out for a final surprise attack by assassins. as
worked so well so far, donÆt stop now. Bring enough of the
Persian army across the strait to be slaughtered by your men, and
then pursue them to the walls. Save your gold for siege engines
youÆll need for the walls. Follow the canyon and get rid of any
stray people or catapults youÆll find. Then, when you enter,
watch out for a final surprise attack by assassins.
Upgrading
tips:
Siege engines attack and
range.
<
Luring enemies into well-armed traps will keep your troops alive
longer than sending them directly into the middle of an army.
_______________________________________________________________Campaign
2: The English
THE RETURN OF
YOUNG WILLIAM
You have much
traveling and building up to do before your assault. Take William
southeast first, then north. The towns you encounter will give you
warriors to accompany you, and the town in the center will give
you a better weapon. Falaise will surrender to you only after you
defeat the guards at the bridge and gate. Once Falaise is yours,
set your citizens to gather resources. Send some citizens directly
east of the town to find some stone. Once youÆre comfortable
with your supply, go south of Falaise to buy some siege engines.
Buy at least two trebuchets. Take all your troops south of the
siege engineer to find gold mines within a bandit camp. Once the
resources are coming in at a good rate, you can build up your
forces and head northeast to attack ToustainÆs keep. Guard your
trebuchets well and let them take out enemy towers and forces. The
episode ends when the castle falls.
Upgrading
tips:
Trebuchet range and damage.
WILLIAM DUKE OF
NORMANDY
Take
the jester, Gollet, west of Bayeux and run away from the ambush.
Follow GolletÆs comments to investigate a sound to the north,
where youÆll find a chest with a weapon inside, as well as
supplies to heal your wounds. Gollet is now strong enough to fight
off the pursuing ambush and the nearby wolf with no problems. He
will not be allowed into Valognes, however, and will need to talk
to a farmer just to the east of the town. Once disguised, Gollet
can warn William of the assassination attempt. Gollet and William
can leave town through a secret passage in the trees east of town
that will put them out by the chest. From there, they need to head
south. They should be able to deal with whatever problems they
encounter, and William can be healed at a church found along the
way. Hide from the mounted assassins that will ride by after
William heals himself, and continue south. An old knight will give
you his three sons to escort you, and you can safely skirt a
massive enemy ambush as the sons sacrifice themselves for you. Once you
get to Falaise, you can start gathering your troops. Some towns
hosting volunteers are near Falaise, although William will have to
fight one townÆs champion. When you have your army, you can
fight Guy of Burgundy. Try to focus your firepower on Guy himself:
once heÆs slain, the army will quickly be defeated. Remember to
keep William alive, or all is lost.
enemy ambush as the sons sacrifice themselves for you. Once you
get to Falaise, you can start gathering your troops. Some towns
hosting volunteers are near Falaise, although William will have to
fight one townÆs champion. When you have your army, you can
fight Guy of Burgundy. Try to focus your firepower on Guy himself:
once heÆs slain, the army will quickly be defeated. Remember to
keep William alive, or all is lost.
Upgrading
tips: Archers
and long swords attack.
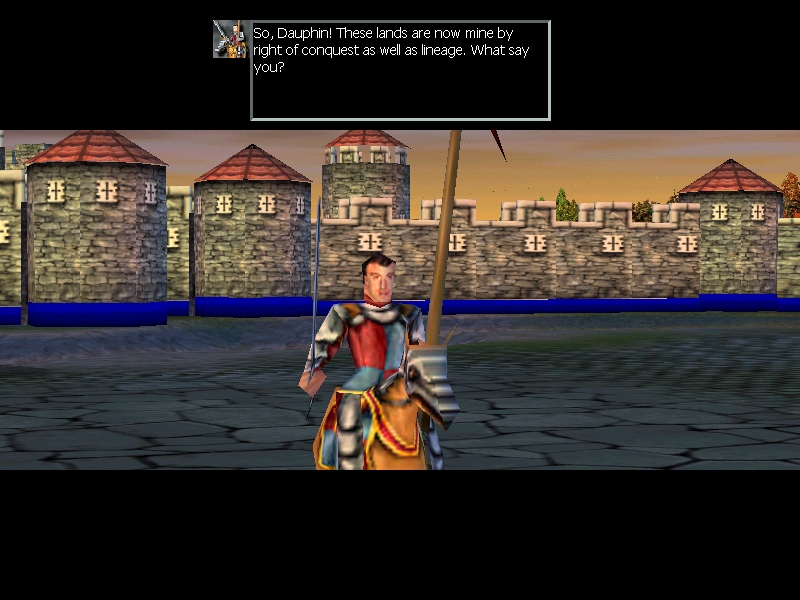
Enemies
on high ground will sometimes be out of your infantryÆs range,
but not your priestsÆ. >
THE
BATTLE OF HASTINGS
Send your
citizens to the resource camps and get them started. Set your
barracks' rally point at the settlements to guard your camps. Send
your initial troops all the way west, where youÆll encounter a
town that asks you for help in getting their children back. Follow
the coast back east until you discover the camp, and youÆll have
no problems defeating the bandits and taking the children back.
This will get your tribute of resources. From there, continue
gathering resources and building your forces. When you reach your
population count, you can select a dock to aid you in moving
north. DonÆt select a dock until youÆre ready to leave. Head
north across the channel to England and encounter the army waiting
for you on the other side. When WilliamÆs horse falls, take your
entire army to the hill ù not just him. This move will give your
army a good high ground to continue the attack. Once your army has
regrouped, go after Harold: if he dies, his army will be
demoralized. Once heÆs dead, all you need to do is go west of
London to procure a horse and ride into the city in glory.
Upgrading
tips: Long sword attack and armor.
THE
HUNDRED YEARS WAR
The French fleet
is very strong, and you wonÆt be able to take them head-to-head.
Use all the resources you have to add to your fleet. (DonÆt
upgrade.) Send a ship to lure some of the French fleet away into a
trap of battleships, keeping your ships close to the docks for
quick healing. Do this a couple of times. Use other ships to lure
the fleet south and sneak your demolitions ship along the northern
coast and down to the flagship. Sinking the flagship will
demoralize the French, but theyÆll still be up for a good fight,
so prepare to finish off each ship. Your next step is fairly easy:
conquer the town of Caen with the Black Prince. Take out the four
towers with trebuchets and kill the defending forces. ItÆs
important to focus on the four buildings in the center of town and
not on the surrounding buildings, although your army will attack
anything within range. Once you build your town center, those
buildings 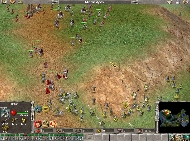 are
yours. Send some citizens directly north to the gold and iron
mines there. When your forces are very strong, max out your units
(donÆt forget siege engines!) and head to Calais. Bring some
citizens with you and build a hospital and barracks outside the
town. YouÆll need to add to your forces frequently ù this
fightÆs a tough one. Once the towers are gone, head straight for
the town center and destroy it. are
yours. Send some citizens directly north to the gold and iron
mines there. When your forces are very strong, max out your units
(donÆt forget siege engines!) and head to Calais. Bring some
citizens with you and build a hospital and barracks outside the
town. YouÆll need to add to your forces frequently ù this
fightÆs a tough one. Once the towers are gone, head straight for
the town center and destroy it.
Upgrading
tips:
Trebuchets first, and then anything else you can afford.
<
High
ground gives your army a decided advantage against the French.
THE
BLACK PRINCE
This episode
starts off with a simple goal: get treasure. Go southeast for the
first treasure, then west for the second. Here a priest will cast
a volcano on you, and youÆll have to keep your army away from
the falling fire until it goes out. The third and fourth treasures
are guarded by more forces to the east; make sure you have two men
guarding your existing treasure outside the fight, or it may be
destroyed. After you have the treasure, rocks will bar your way
back, so you have to go north. YouÆll be ambushed in an
apparently empty town, so keep alert. Helping a merchant with
bandits back west will give you transports to get you and your
treasure back to the starting point. From here you need to take
Voltieres to the north. Once you climb the high ground outside the
city, the French will attack. The important thing here is to make
sure your forces donÆt get caught up in the destruction of the
farms and then forget to engage the army. The battle shouldnÆt
be too difficult, and after the army is destroyed, you can take
the castle keep.
Upgrading
tips: None
(no resources).
WE
BAND OF BROTHERS
At the beginning
of this episode, flee immediately west to Oxford. From there, take
your troops to the temples in England to root out the treasonous
priests. Your biggest danger at this point is enemy priests
converting your units, so you might want to boost conversion
resistance. Four of the seven temples will be taken over by the
Lollards; when you take the fourth one, you can choose to kill the
leader or convert him with a priest and take him to the Tower of
London. At this point, build forces to your population cap to
attack France. Be sure to make some priests. When youÆre done,
send everyone ù including the citizens ù to the dock to travel to France. Travel to the east to take
Harfleur, and then scout east with Henry and the Earl of
Westmoreland. After you regain control of them, your citizens can
build settlements around FranceÆs many resources and set up the
necessary buildings to beef up your army. When youÆre ready for
the final battle, be sure to send cavalry to take out the four
deadly bombards first Send
only a few at a time, as a group will get tangled up in each other
and be demolished by the bombards. Once the bombards are out of
the picture, it wonÆt be too hard to defeat the army.
ù to the dock to travel to France. Travel to the east to take
Harfleur, and then scout east with Henry and the Earl of
Westmoreland. After you regain control of them, your citizens can
build settlements around FranceÆs many resources and set up the
necessary buildings to beef up your army. When youÆre ready for
the final battle, be sure to send cavalry to take out the four
deadly bombards first Send
only a few at a time, as a group will get tangled up in each other
and be demolished by the bombards. Once the bombards are out of
the picture, it wonÆt be too hard to defeat the army.
Upgrading
tips: Cavalry
speed, long sword attack, and archer range.
THE
WAR AGAINST NAPOLEON
As you take your
troops to France, skirt the far western edge of the map. Your
frigates will encounter two enemy ships they shouldnÆt have any
problems with. Once you land in Lisbon, you wonÆt have any
trouble taking out the existing troops; JunotÆs army will attack
from the north, only to surrender shortly after engaging. Now you
can start building up your army. A very important note here:
YouÆll have no iron or gold in this episode. Once you get some
siege engines, you can take Badajoz to the south ù just destroy
the gates and each tower (some towers are inside the town walls),
and the rebels are on your side. However, they will immediately
attack Talavera. If youÆre ready with your army, you can go
along with them for an easy victory (theyÆll be massacred
otherwise). After Talavera, take Toledo and Salamanca for tribute
of more resources, and then send some citizens up to Salamanca to
build a hospital, barracks, and a stable at the foot of the
Pyrenees. While theyÆre building, send knights around the
mountains to take out the  snipers
hiding up there. The French will send their formidable army to the
mountains at this time, and wonÆt come down the other side, even
if you bait them. If you have the resources, up the speed and
attack with your knights. Send them to the mountains in groups of
three ù rush in, attack, and rush out. This tactic will minimize
your losses and allow you to defeat the army. snipers
hiding up there. The French will send their formidable army to the
mountains at this time, and wonÆt come down the other side, even
if you bait them. If you have the resources, up the speed and
attack with your knights. Send them to the mountains in groups of
three ù rush in, attack, and rush out. This tactic will minimize
your losses and allow you to defeat the army.
Upgrading
tips: Knights
attack and speed, siege engine range.
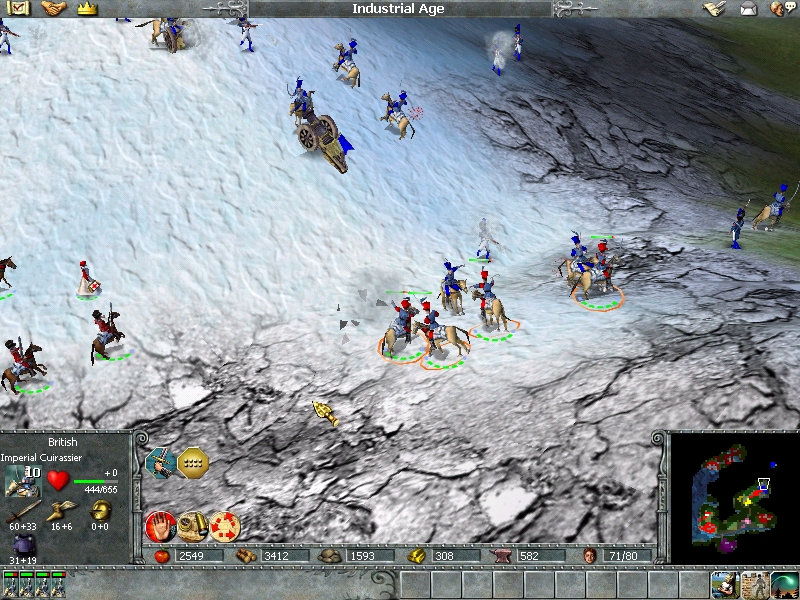
<
Cavalry
units are your strongest mountain fighters.
THE
BATTLE OF WATERLOO
You have to move
fast during this episode. When youÆre sending your messenger
south, ignore the French snipers: they wonÆt hurt you very much.
During the skirmish between the Prussians and the French, try to
keep as many Prussians alive as possible, since theyÆll back you
up later in the episode. Send your army to the walled area west of
Mt. Sainte Jean and have your citizens build towers at the western
side of the walls. Your citizens should then go north and build
barracks and the like to fortify your army. Now you should take
the French with no problem, and the remaining French will flee
south. DonÆt follow them; have your citizens build a hospital
and a settlement near the stone mine a little west of Mt. Sainte
Jean. When they have enough stone, build some towers guarding the
entrances to Brussels. (DonÆt forget the southeastern entrance
to your camp ù itæs a weak spot.) The Prussians should help
you during the final battle with the French, but watch to make
sure an attacking party doesnÆt slip into Brussels without your
knowledge, or all is lost.
Upgrading
tips: None
(donÆt waste your resources).
____________________________________________________Campaign
3: The Germans
CAVALRY
IN THE SKY
Stealth is the
key to the first part of this episode, as you have only enough
ammo to save the peasantÆs wife from the Russians. Have the
peasants cut a path through the trees for you. From here, go north
to your first site to be photographed. Head north again to the
next site, where youÆll find a map to all the other sites. The
next two sites should be fairly simple with the map ù the site
to the west will have ammo (which you probably wonÆt need), and
directly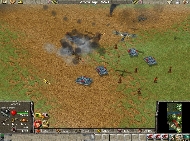 south of the third site should be your last one. Keep clear of
Russian guards and you should be fine. From here you can use the
troops to clear a path. Build up your army with a balanced group
of forces, including several from your siege factory. Leaving some
behind to guard the camp, begin inching forward with your
artillery to take out pillboxes and buildings. Keep to the north
and punch a hole through which your heroes can move quickly back
to camp.
south of the third site should be your last one. Keep clear of
Russian guards and you should be fine. From here you can use the
troops to clear a path. Build up your army with a balanced group
of forces, including several from your siege factory. Leaving some
behind to guard the camp, begin inching forward with your
artillery to take out pillboxes and buildings. Keep to the north
and punch a hole through which your heroes can move quickly back
to camp.
Upgrading
tips: Artillery
range and attack.
Your
bombers are excellent for taking out pockets of infantry.
>
SUPPLY
AND DEMAND
Get your four
town centers creating citizens to gather resources. YouÆve got
plenty of resource areas, so donÆt skimp on the citizens. Build
some docks and naval yards and start building your fleet. Send a
larger fleet (battleships and submarines) north to encounter the
British fleet amassed there. (DonÆt worry about the southern
route.) Build an airport to bring the Red Baron over to your side.
If you have the resources, build a lighthouse to keep an eye on
the British. YouÆll need to have AA guns and towers to protect
against the ships and airplanes. Have the Red Baron and his planes
defend the transports of the southern route. Contacting the spy
with your subs will be difficult, but you can do it by sending
several subs at once, hoping that one gets through.
Upgrading
tips: Sub
attack and battleship attack and range. Plane attack, speed, and
flight time.
THE
RED BARON
This episode can
take some time. You need to get your citizens north to the
resources and immediately start mining gold and iron. Build a
granary. Build your forces at the barracks and build a siege
factory to the northwest of your camp. Put in a second airport and
start building fighters and bombers. Build artillery and infantry
to protect your camp. Set the Red Baron and his fighters to
protect the perimeter of the camp at the south. Send your bombers
and fighters from the west all the way to the west side of the map
to take out their airfields at the top of the hill. From there, go
south and take out the AlliesÆ supply areas. Build several
artillery and ground units to protect your home base ù
especially partisans. YouÆre limited to 10 tanks, so be careful
with them. The key here is to get rid of the support buildings
nestled in the French towns before you take the fortresses. Once
you remove the AA guns around the towns (using artillery protected
by ground forces), you shouldnÆt have any problems sending in
protected bombers to destroy the buildings inside. When the last
building falls, send the Red Baron and all your fighters near your
capitol building where the AA guns protect him, and let them try
to assassinate him.
Upgrading
tips: Fighter
and bomber flight time, attack, and speed.
THE
SOMME
You have a glut
of resources here, so upgrade all units you can up to 10. You
donÆt need to gather resources, so have your citizens build AA
guns and pillboxes to protect your town, and set several AA guns
around the settlement to the southeast of town. Your citizens will
need protection when they start gathering wood. Build fighters and
set them to patrol the camp perimeter to make sure you arenÆt
spotted. When you reach the population cap, you need to begin
building resources. At this point, start sending in your beefed-up
bombers and fighters to eliminate a British airfield to the west.
Once you eliminate the majority of the British troops with the air
attack, you can bring in infantry to clean up. When you control
the northern third of the map, build a settlement at the foraging
areas and leave a tank to protect it. Take your troops across the
bridge and start moving east. Leave the planes at home for now.
Send a citizen along to build a hospital, barracks, siege factory,
and several AA guns at the small forest between the bridge and
Peronne. Send artillery and infantry to take out the AA guns north
of Peronne to let your planes come in and help take out the town.
Build several AA guns at Peronne once you take it, but avoid
building a barracks at this point ù the Red Baron will leave
your employ when you do. Build a second airfield at this point to
help protect from the barrage of planes. Move south with fighters
and bombers to take out the artillery stationed on the hills
protecting Roye. When theyÆre gone, itæll be  safe
to crush the infantry and airfields. At this point, build your
barracks. YouÆll want to start building up a defense team of
infantry at each city in case the Allies try to attack. From Roye,
build an airfield, and start sending troops and bombers (with
fighter escort) west to take the tank-heavy town of Montdidier. safe
to crush the infantry and airfields. At this point, build your
barracks. YouÆll want to start building up a defense team of
infantry at each city in case the Allies try to attack. From Roye,
build an airfield, and start sending troops and bombers (with
fighter escort) west to take the tank-heavy town of Montdidier.
Upgrading
tips: Everything
to 10 ù you have the resources and the time.
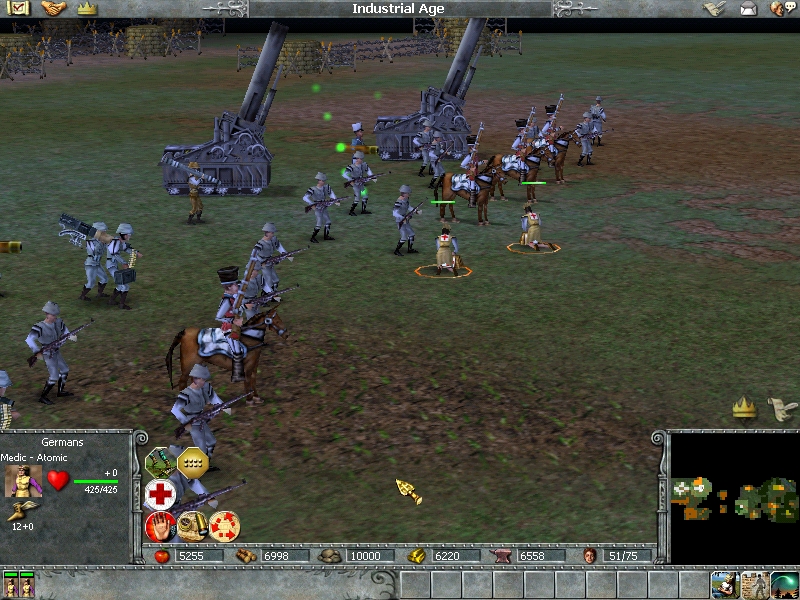
<
All armies need at least two medics to heal troops on the fly.
LIGHTNING
WARFARE
Set your citizens
building AA guns at the west and north of Germany and another
airfield. Begin building bombers and fighters first, then infantry
and artillery (and lots of tanks and at least two cargo trucks).
Start with the easy target: Poland. Post rally points above Poland
for your planes. When you have enough forces, declare war. Move in
your bombers to pulverize the buildings north of Warsaw, then
Warsaw itself. Bring in your land forces, and beware of the Polish
tanks. South of Warsaw are airfields, and further southeast are
more siege factories to knock out, along with more resources. Send
in five citizens to build a settlement and then to populate it.
From there, build a settlement to the east and start mining gold
and iron, and then send citizens south to settle near the gold and
iron deposits near the buildings you just knocked down. Start
building towers, pillboxes, and AA guns right at the border of
Belgium (north of Germany). Once you declare war, the towers and
pillboxes will start attacking the closest buildings, and Belgium
will be even easier to take than Poland. Be careful of French and
British planes. Once Belgium is reduced to rubble, move to
northern France and level the buildings there before you send
bombers to destroy the Arc de Triomphe and the capitol. Send
cargo trucks with citizens to build and populate a town center;
just keep in mind that the pillboxes and towers will still attack,
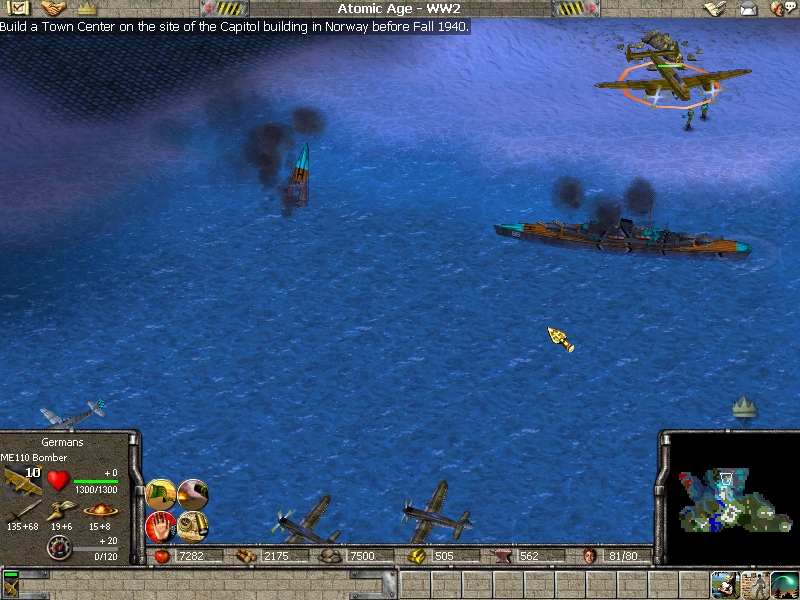
and your citizens will need protection. Taking Norway is a simple
matter of patience and planes. Their air force isnæt worth
worrying about (though theyÆll have British support), so max out
your planes and start attacking. Begin with the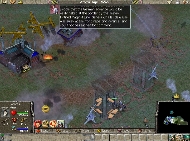 capitol to reduce morale, then move to airfields and siege
factories. Take out the towers and donÆt forget that you can
attack the waiting battleships with your bombers. When most of
Northern Oslo is rubble, send in some tanks and infantry to
protect your cargo trucks full of citizens, and populate your town
center.
capitol to reduce morale, then move to airfields and siege
factories. Take out the towers and donÆt forget that you can
attack the waiting battleships with your bombers. When most of
Northern Oslo is rubble, send in some tanks and infantry to
protect your cargo trucks full of citizens, and populate your town
center.
Upgrading
tips: Bombers,
fighters, and AA guns need to be maxed-out.
Your
towers can begin their attack the instant war is declared.
>
PREPARATIONS
FOR INVASION
Get your citizens
building AA guns pronto, and have your subs keep their eyes out
for convoys to take down. YouÆll need only ships, subs, and
planes for this episode, so donÆt worry about infantry. Protect
your citizens and buildings from the sky attacks, and work on
building a formidable fleet and air force. Set your rally point
for your fighters at home to protect from bomber attacks; keep the
bombers in the airfield for now. Send out two more subs to help
the existing convoy-hunters while youÆre waiting for the Bismark
to be finished. The key to this episode is building a massive and
balanced navy ù make sure you have plenty of battleships,
cruisers, and subs. Once you hit the population cap, begin
upgrading, starting with the ships and then moving to the planes.
Start taking out the AA guns at the southern coast with your ships
to clear a way for your bombers to take on the inner buildings.
DonÆt forget to destroy the ports and naval yards you come
across, although remember that Ireland is neutral and will heal
you. The bombers should first focus on capitols and airfields,
which will cripple their air defenses and keep the citizens from
healing the buildings.
Upgrading
tips: Take
all of your sea-faring units as high as your resources will allow.
OPERATION
SEA LION
Your strongest
forces here are your planes, so start organizing your air forces
to patrol the coastline and protect your docks. As usual, always
keep fighters with bombers. Build transports to be ready for the
incoming reinforcements: itÆll be too late after they arrive.
Send your ships to smash AA guns along the coast and to eradicate
whatever radar facilities they can reach. Your bombers can also
help with these missions, but be careful of too much AA fire. Then
you can use your air force and subs to protect the ships as you
start moving your units across the English Channel. Protect Rommel
by sending him over with AT guns and panzers. Focus the ground
troops on the AA guns as your bombers wipe out troops and
buildings. Set your ground troops to take down the wall at the
south of the palace, and then the AA guns to have the bombers
finish off the job. Make sure your ground forces donÆt attack
any other buildings ù you can use those later. Send over some
citizens and infantry in transports and get them to build a
capitol on the ruins of the palace. Move the army west so you can
start taking over existing buildings with spies who will let you
build reinforcements. Destroying town centers will also get you
resources. Your navy should move west to encounter the Americans:
send them with an escort of 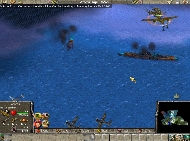 fighters
and bombers to help take out American planes and ships. Your army
will also encounter Americans on land, so keep your army tightly
together and protect them in the air as well. If youÆve used a
spy to take over a hospital, itÆll be useful now. The Americans
are tough and have many tanks. Once youÆve destroyed the
American buildings in Wales, the war is won! fighters
and bombers to help take out American planes and ships. Your army
will also encounter Americans on land, so keep your army tightly
together and protect them in the air as well. If youÆve used a
spy to take over a hospital, itÆll be useful now. The Americans
are tough and have many tanks. Once youÆve destroyed the
American buildings in Wales, the war is won!
Upgrading
tips: AT
guns, navy, and planes as high as your resources will allow.
<
Bombers
with fighter escorts can be effective against battleships.
_____________________________________________________Campaign
4: The Russians
THE
CROCODILE
Take a hint from
the opening dialogue of this adventure: The trunk is a good place
to hide Grigor only while the town car is within the city walls.
By driving east within the city you can discover a potato truck by
some fields ù stay far enough away from the guards while you make
the exchange and youÆll be able to leave the city and enter
Volgograd with no problems. Once the city is yours, set your
citizens to build settlements and start gathering, but donÆt
spend any resources yet ù youÆll need your gold and iron. When
you send diplomats to the respective cities, keep them moving:
towers will attack them until they get to the destination keeps.
Once youÆve allied with the surrounding cities, the final
assault on Voronezht will be relatively easy with considerable
plane and helicopter support. In this episode you can also use
your resources to take Russia to the Digital Epoch, but doing so
does take considerable resources.
Upgrading
tips: Fighters
and helicopters should be maxed-out.
NOVAYA
RUSSIA
This episode will
be exceedingly difficult if you donÆt demolish the rebels to the
south, and fast. Your stone resources are limited, so keep that in
mind when youære building your two Wonders. Concentrate defenses
to the northwest to protect against air strikes from Britain and
Oslo. Send your forces south to take out the rebels while
organizing your citizens to build defenses and start gathering
resources. After taking out the rebels, move north to Arkhangelsk;
once you take it, send citizens to build defenses in the town.
Arkhangelsk will allow you to beef up your navy greatly. While
working on defending your cities, start working on your ground
forces, and send a great number of infantry, tanks, and artillery
with a fighter escort to work south toward Kiev. Send some bombers
to help. Once you capture Kiev, youÆll be able to build cybers,
which should help greatly as you move toward Copenhagen. Hopefully, you havenÆt forgotten your fleets, as they will help
you out with the taking of this seaside country. Try your new
cybers ù including your new toy, the Rostov JK 1 ù and use
maxed-out planes and ships to take Copenhagen. Make sure to scour
the countryside to eliminate all rebel forces!
Hopefully, you havenÆt forgotten your fleets, as they will help
you out with the taking of this seaside country. Try your new
cybers ù including your new toy, the Rostov JK 1 ù and use
maxed-out planes and ships to take Copenhagen. Make sure to scour
the countryside to eliminate all rebel forces!
Upgrading
tips: Air force should be maxed-out.
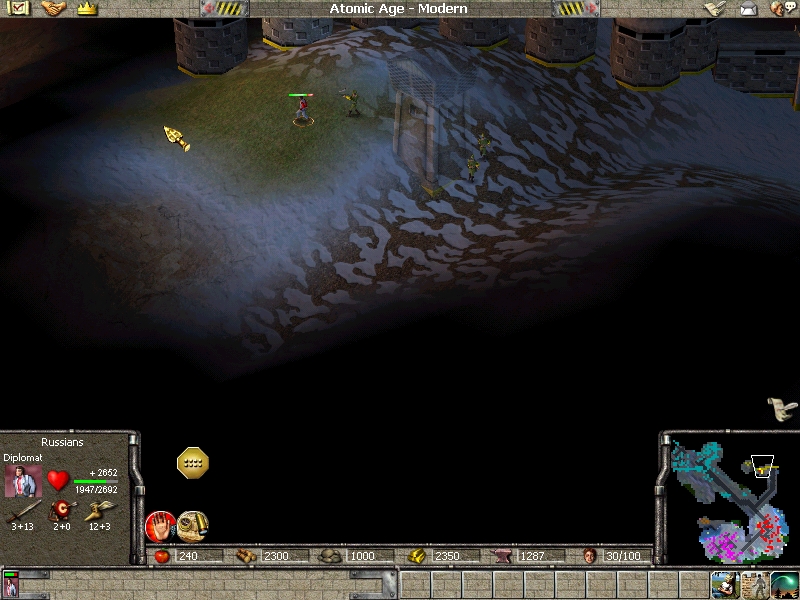
Nuclear
attacks are one of the exciting new weapons youæll learn to use
in the Modern Age. >
CHANGING
OF THE GUARD
Remember when you
rooted out the disloyal Lollards? YouÆre doing something similar
here with Grigor checking garrisons in the area for loyal troops
who are in favor of him establishing a cybernetic as his heir.
Touring the garrisons is fairly simple, but Grigor will have a
heart attack partway through the campaign and youÆll need to get
him to the hospital in the southwestern corner immediately.
Afterward, you can continue collecting your troops and attack the
central city. Attack the barracks that is sending fresh troops
into the fight, and then take down the rebel headquarters. Keep
Grigors I and II and Molotov safe till the end, when Grigor I will
breathe his last breath.
Upgrading
tips: None.
JEWEL
IN THE EAST
Starting out
behind enemy lines, you need to take over the town. First, destroy
all the universities and then take over the temple and begin
converting priests. Keep a force guarding the temple from the
natives taking it over. Once you get some priests, start
converting the citizens and work on taking over the town, focusing
on the cyber factory. DonÆt forget to guard it from the
attacking Chinese. Your next goal (after you take over the town)
is to infiltrate XiÆan at the southwest corner. Before you do
that, though, youÆll need to convert eight cyber factories ù
Baotou is the closest, but it has only three. Tianjin has the most
with six ù you can finish your goal quicker that way, making
sure you protect your  ground
forces with cybers. After that, the episode is timed: you must
break into Beijing with Molotov to stop the Chinese from using
their time machine. Complete your earlier mission to XiÆan by
sending a force of cybers (five or six) to get the intelligence
you need to enter the Nano Age. Then, after taking a little time
to upgrade your cybers, send some Ares while using the Apollo
Diffraction Shield to protect Molotov. ground
forces with cybers. After that, the episode is timed: you must
break into Beijing with Molotov to stop the Chinese from using
their time machine. Complete your earlier mission to XiÆan by
sending a force of cybers (five or six) to get the intelligence
you need to enter the Nano Age. Then, after taking a little time
to upgrade your cybers, send some Ares while using the Apollo
Diffraction Shield to protect Molotov.
Upgrading
tips: Apollo
and Ares should be maxed-out.
<
Keeping your diplomats and spies moving even when theyÆre
attacked will keep them (somewhat) safe.
CHANGE
OF HEART
When you land on
Hispaniola, eliminate the enemy garrison to give you more room to
build your camp. The Americans will target any building within
range of their battleships, so keep inland. When youÆre heavily
built-up, take over Cuba ù but destroy only their capitol, and
build a town center in its place. Try not to build anything in
Cuba besides the town center and a hospital. At this point, start
invading Florida, but treat it like Cuba: destroy very little and
build nothing. When Molotov defects to the Americans, youÆll be
fighting the army you just built up. Build up your American forces
and head back to re-take Cuba, where your time machine will be
built.
Upgrading
tips: None.
A
BAD CASE OF D╔J└ VU
Creating a heavy
defense is your initial goal here. Grigor II will be throwing Nano
epoch forces at your Modern epoch defenses, so build a heavy
defensive force as well as many AA guns. Send Molly quickly to the
Ukraine to ally with them. Keep her moving to avoid getting her
killed. As you defend against the superior Grigor II forces, take
a little time to build a well-defended Espionage Center. Start
sending spies, one at a time, to infiltrate Grigor IIÆs
buildings and steal Nano technology. This will begin to level the
playing field. Once youÆve gained equal power, start building
several heavy air and ground attack forces to enter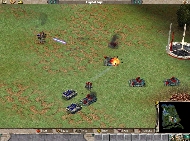 Volograd and kill Grigor II. YouÆll also need to destroy the
city (bombers are your friends here), but donÆt destroy Grigor
IÆs bunker ù Molly or Molotov will need to talk to him before
the episode is over.
Volograd and kill Grigor II. YouÆll also need to destroy the
city (bombers are your friends here), but donÆt destroy Grigor
IÆs bunker ù Molly or Molotov will need to talk to him before
the episode is over.
Upgrading
tips: Upgrade your Modern epoch defenses, but try not
to waste too much money upgrading until you steal the Nano
technology.
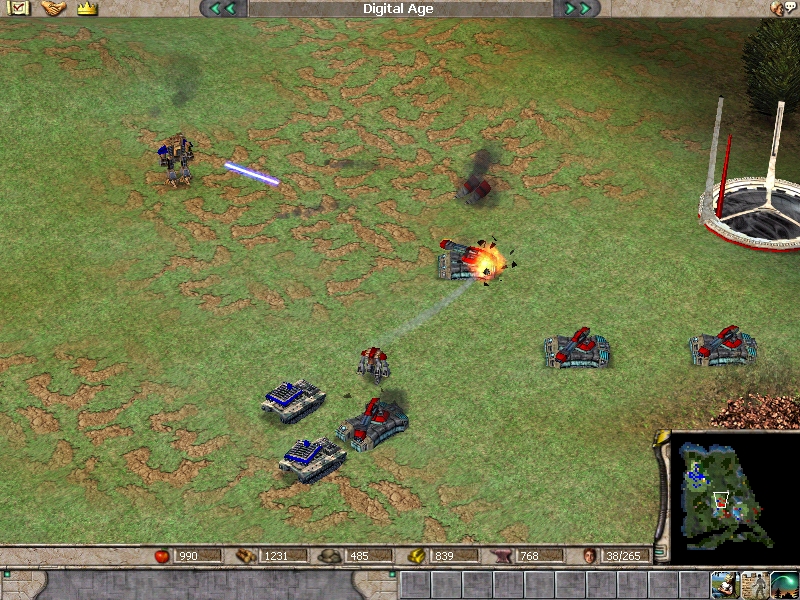
Cybernetic
infantry brings warfare to all-new levels. >
|