Add a background border in WordPerfect 7
Add a background border in WordPerfect 7
|
Tip It's easy in WordPerfect 7 to create a graphical border on a page or another graphic to serve as a background for the text. You can use one of several designs included in the program, or you can import your own clip art images. Here are the steps for creating a background image or watermark. 1. With your cursor on the page where you want the border, select Format--Watermark, and click the Create button in the Watermark dialogue box. 2. A new toolbar will appear, and you'll see a full-page view of your document. On the toolbar, click Image.
Enhance WordPerfect documents by adding one of the program's attractive borders
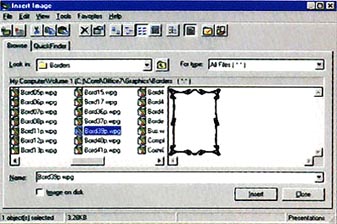
3. In the Insert Image dialogue box (see illustration), click the Preview icon, choose a directory that contains the image you want to place on the page, and click the image's file name in the file list to view the image. When you find the graphic you want to use, click Insert.
5. Finally, click the Close button on the Watermark toolbar to return to normal editing mode. If you've inserted a border, you may need to adjust your margins to fit the text inside the border. | Category: Word processing Issue: May 1997 Pages: 166 |
These Web pages are produced by Australian PC World © 1997 IDG Communications