|
|
|
|
|
In Word 97 and 2000, you can easily add a border to your pages: simply select Format-Borders and Shading. With some printers, however, the default border location is too close to the paper's edge, so parts of the border are cut off when you print. If you want more control over placement of page borders, follow these steps: 1. Select Format-Borders and Shading and click the Page Border tab. If you haven't chosen a Setting and Style, do so now. 2. Click Options. 3. In the Border and Shading Options dialogue box, choose Text in the Measure from drop-down list. This will position the border close to the text margins on the page, rather than close to the edge of the paper. 4. Change the four Margin settings to increase the amount of separation between the text and the border lines. A reasonable starting point is 12 points, but you're free to experiment with any value between 1 and 31 points. When you're done, click OK in both dialogue boxes to complete your settings changes. 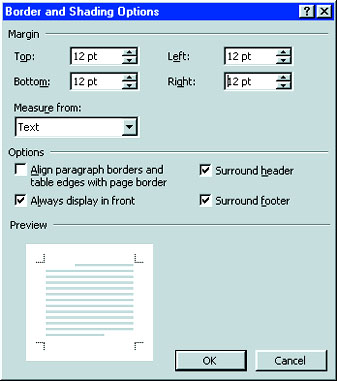 Caption: Reposition Word page borders by aligning them with text, not paper edges 5. Check your new border setting by selecting File-Print Preview. - George Campbell |
Category:word processing Issue: August 1999 |
These Web pages are produced by Australian PC World © 1999 IDG Communications
 Control page border placement