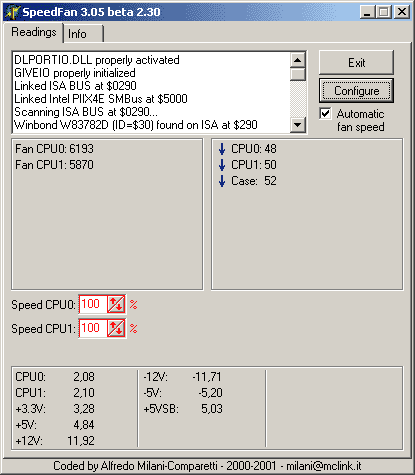

Nothing...
Why?
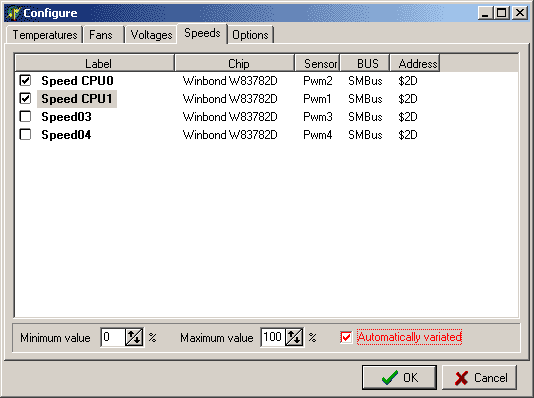
Let痴 go back to the configuration dialog and select SPEEDS tab.

We can find an interesting option: AUTOMATICALLY VARIATED. SpeedFan defaults to disabled for safety reasons :-)
All we have to do is enabling this option for both SPEED CPU0 and SPEED CPU1.
Now, back to the main window!

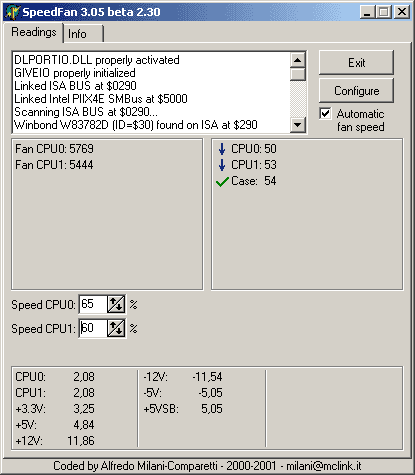
WOW! After less than a minute SpeedFan starts its real job and starts decreasing speeds according to all of our settings!
By default, SpeedFan can set each speed as low as 0% and as high as 100%.
By unchecking AUTOMATIC FAN SPEED, you can stop SpeedFan from automatically selecting speeds for you and you can start exploring :-)
What should you explore? You should carefully listen at your fans (not that difficult, isn稚 it? :-)) and try to understand which is the lowest speed with an acceptable noise. Some fans are quiet enough even at 50% or so.
After having done some tests, you can go back to the configuration dialog and do the final touch.
 speed.gif)
One of my fans is quiet enough even at 65%. This is pretty enough as it is still running at 5700 RPM :-) Thanks to this, I set the minimum value to 65%: there is no need for me to go lower as my environment is noisy enough for me to keep the fan running and this will not force SpeedFan to slow down and speed up the fan that often.
My other fan, on the other hand, is a little bit noisier. This is why I set both the minimum and the maximum value for it.
.gif)
At 90%, the second fan is fast enough to cool the CPU down. At 100%, the noise drawback suggests to use a lower speed :-)
Please, note that if the WARNING temperature is reached, SpeedFan will set fans to 100% no matter what we set here.
What now?
Well... not much. Simply press that OK button and go back to the main window.
