

Pixel Trash
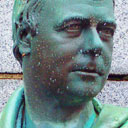
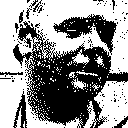
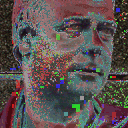
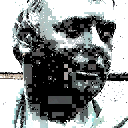
Pixel Trash gives pictures the crude, blocky look of early 1980's graphics.
Illustrated installation instructions are online.
To use this software, you need a paint program which accepts standard Photoshop 3.02 plugins.
Just put the plug-in filter into the folder where your paint program expects to find it. If you have Photoshop, the folder is Photoshop:Plugins:Filters or Photoshop:Plug-ins. You must restart Photoshop before it will notice the new plug-in. It will appear in the menus as Filters->Flaming Pear->Pixel Trash.
Most other paint programs follow a similar scheme.
If you have Paint Shop Pro: you have to create a new folder, put the plug-in filter into it, and then tell PSP to look there.
PSP 7:
Choose the menu File-> Preferences-> File Locations... and choose the Plug-in Filters tab. Use one of the "Browse" buttons to choose the folder that contains the plug-in.
The plugin is now installed. To use it, open any image and select an area. From the menus, choose Effects->Plug-in Filters->Flaming Pear->Pixel Trash.
PSP 8, 9, X and XI:
Choose the menu File-> Preferences-> File Locations... In the dialog box that appears, choose Plug-ins from the list. Click "Add." If you are using PSP 8 or 9, click "Browse". Now choose the folder that contains the plug-in.
The plugin is now installed. To use it, open any image and select an area. From the menus, choose Effects->Plugins->Flaming Pear->Pixel Trash.
When you invoke Pixel Trash, a dialog box will appear:
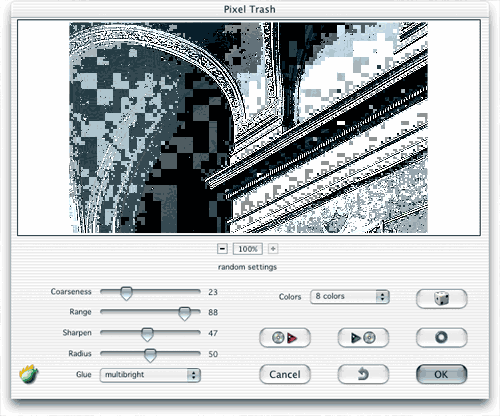
| Quick start |
|||
| If you just want to see some effects quickly, click the dice button
until you see something you like; then click OK.
Using the dice is the easiest way to use Pixel Trash. If you want to hand-tune your own effects, it helps to learn the controls, which are arranged in three groups. ...and there are some other controls that affect the overall look. |
dice
|
| Sharpening |
|||
|
Sharpness: this slider makes the edges contrastier, which repairs some of the intelligibility lost to blockiness. Radius: the thickness of the sharpened edges. |
 less sharp |
| Hints Click the dice a lot and try the glue modes called 'and,' 'or,' and 'xor.' |
Questions
Answers to common technical questions appear on the Frequently Asked Questions page.
For bug reports and technical questions about the software, please write to support@flamingpear.com .
