Learning about the work area
Picture It! provides an intuitive, easy-to-use interface for you to edit your picturesGeneral term refers to a single photo or a composite project on the canvas.. The Picture It! work area consists of the following elements:
- The menu bar appears at the top of the screen and provides access to all of the features available in Picture It!.

- The toolbar is at the top of the screen (under the menu bar). The toolbar provides quick access to many commonly used features in Picture It!.

- The Workspace toolbar appears near the top of the screen under the toolbar. The Workspace toolbar provides access to the Common Tasks list, Files palette, Stack, selection tools, and the zoom tool.

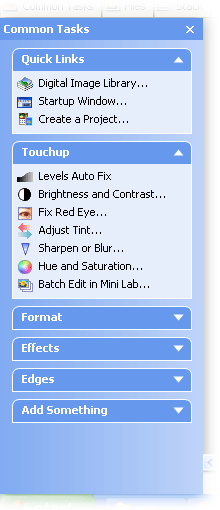
- The Common Tasks list appears on the left side of the screen. The Common Tasks list provides quick access to many of the most commonly used features in Picture It!. You can show or hide this list by clicking Common Tasks on the Workspace toolbar.

- The canvas is a white rectangle contained within the workspace, and it is the "paper" on which you edit your picture. The workspace is the gray area that occupies the middle of the screen. The workspace contains the canvas. You can view rulers, which run along the top and left edges of the workspace and indicate the actual size of your picture when printed.

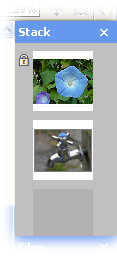
- The Stack shows the objectsA part of a picture, including shapes, text boxes, or lines that can be edited individually. The order of objects can be changed by using the Stack. and layersA part of a picture, including shapes, text boxes, or lines that can be edited individually. The order of layers can be changed by using the Stack. in your picture. It is hidden by default. To view it, click Stack on the Workspace toolbar and it will appear on the right side of the screen. You can then either move the Stack to another location or dock it to the right side of the screen.

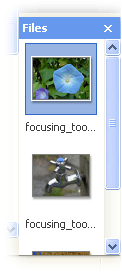
- The Files palette is docked by default on the right side of the screen. The Files palette displays all pictures and projectsAny image in this product that you create using a template and a photo or other picture. Examples include composites, calendars, and cards. that are currently open. You can undock the Files palette and move it around the work area. To view or hide it, click Files on the Workspace toolbar.

- The zoom tool is on the right end of the Workspace toolbar. The zoom tool enables you to easily zoomTo change the magnification of a picture or project in the workspace. in and out from your picture, and pan around your picture.

![]()


