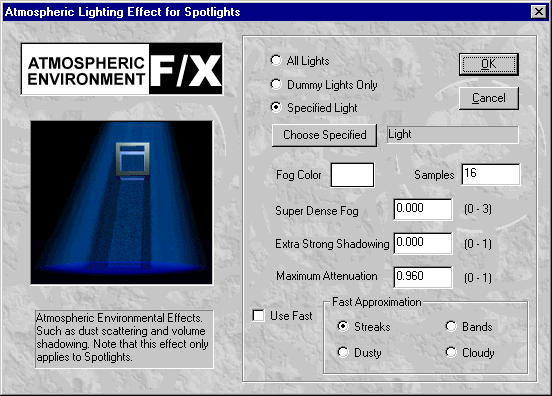
This image post processor plug in allows you to create atmospheric effects. It is controlled through the dialog below but we warn you it is very slow to compute in most cases and can be quite 'fiddly' to set up so that you get the effect you require.

Having given you the above warning here are some basic instructions about the settings and roughly how they work.
The first thing to appreciate is that there are two types of atmospheric effect covered in the dialog:
The effect works in connection with lights and the Volume shadowing effects only work with 'SPOTLIGHTS' so the first controls in the dialog allow you to specify the lights involved with the effect. These are basically the same contols that appear in many of the other plugin modules.
The 'Fast'
Approximations
The best way to illustrate these effects with some examples, so starting
with this basic scene showing a simple model illuminated with a single spotlight:
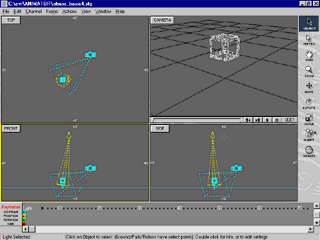
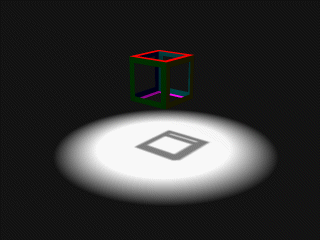
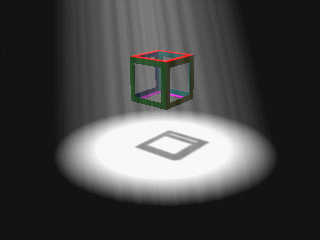
Adding the Atmospherics image post processor to the light in the scene with each of the 'fast' effects produces the results shown below:
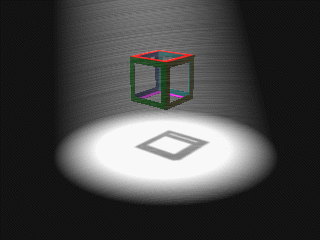
Adding Streaks gives a pretty good representation of a dusty atmosphere, or possibly underwater:
Bands of Dust :
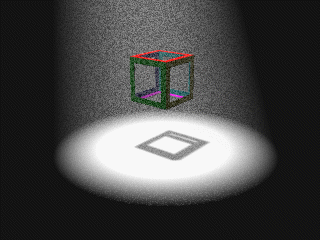
Random Dusty Particles:
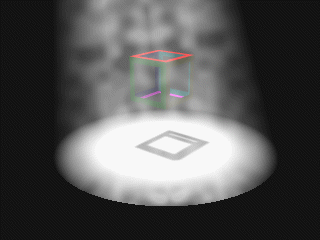
Cloudy or smoky atmosphere::
No other settings have any effects on these 'fast' settings and they work with 'Spotlights' only.
'Full Volume
Integration'
To obtain a full volume integration a kind of 'Ray
Tracing' calculation is required, one ray for each pixel in the image is traced
through the scene and at each sample point (controlled by the Samples setting)
a calculation determines how much attenuation due to fog there is and whether
that point lies in shadow from the named light or not. If the point is in shadow
the scattered light due to fog particle is less and thus the fog appears less
dense. Thus the more accurate the calculation is to be be the higher the number
of Samples needs to be. However the larger the samples setting the slower is
the calculation so you need to experiment with a single frame before continuing
to render a full animation.
The other settings control the appearance of the Fog. For a basic fog the Super Dense Fog and Extra Strong Shadowing settings can be left at 0.0. They can be increased for cases were, for example, you want to show a light shining out through a box into a very dusty atmosphere.
For most cases the default sample of 16 may not be enough the examples below were rendered using 32 samples per 'traced ray':
Starting with a slight variation on the basic scene:
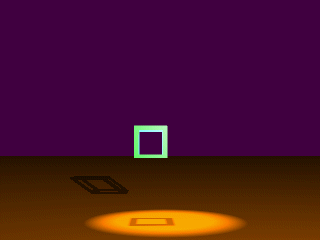
Rendering 32 samples per ray and all other settings left at their default values SDF (Super Dense Fog)=0.0 ESS(Extra Strong Shadowing)=0.0 MA(Max. Atten=0.96) we get:
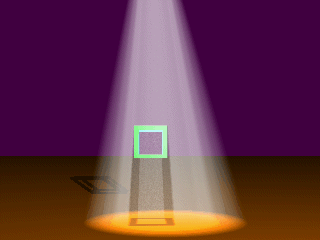
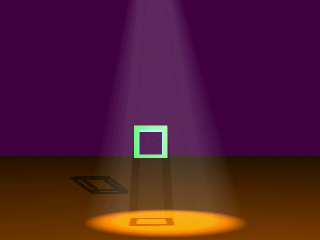
Notice how the fog effect is less marked in that part where the atmosphere is shaded from the light by the object. This is caused because those parts of the atmosphere that are in shadow scatter the light less than those that are not in shadow. Reducing the value of Maximum Attenuation to 0.25 reduces the density of the fog:
To see the effect of using ESS=1.0 look at the image below . (For a scene of this nature an ESS setting of 0.0 would probably be more appropriate):
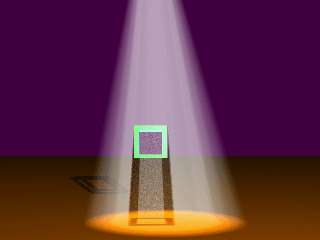
Notice how the shadow is more pronounced. This is a little artificial for a scene such as this. Compare it with the two images above.
To see the effect of Super Dense Fog look at the following SDF=1.5
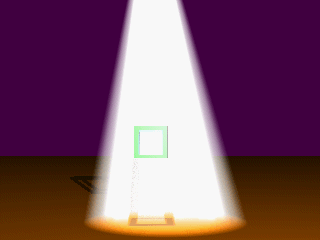
The whole fog looks overexposed. This setting is not well suited to a scene like this. An SDF > 0.0 fog is best used for lights shining out through windows (for example) into a foggy environment where there may only be a few rays passing through that part of the atmosphere which is in shadow. In those cases it should be uses in conjunction with a high value of extra strong shadowing (ESS > 0.5).
We will look at some other examples:
Firstly if you are very short of time you can use a low setting for the number of samples combined with a higher setting of extra strong fog. The image below came from a rendering with only 5 samples per ray and a setting of 0.3 for ESS:
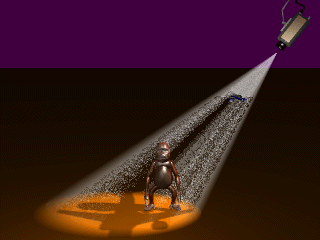
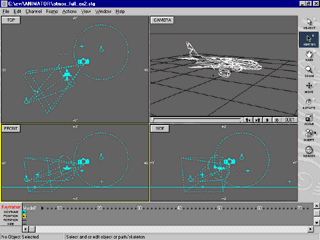
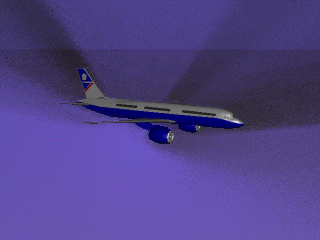
Here two models are in the beam of the spotlight with one (the plane) casting its shadow over the other (the Ape). In an animation you can see the model of the plane pass through the beam of the spotlight.
In the example below 16 samples are sufficient to render a light shining out through some holes in a box if the maximum superdense setting of 3.0 used:
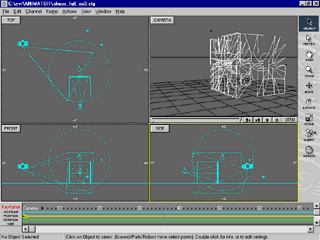
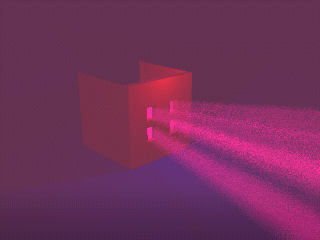
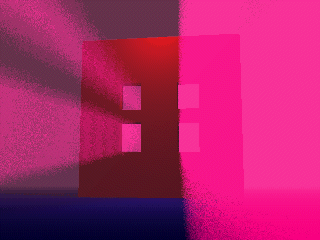
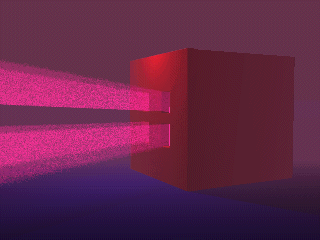
In the above example (atmos_full_ex3.stg) a post-process fog is combined with the atmospheric volumetric dusty atmosphere. Note that as you actually 'see' the light through one of the holes (frame 3 above) the whole raster is rendered in the fog colour.
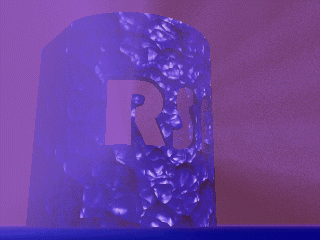
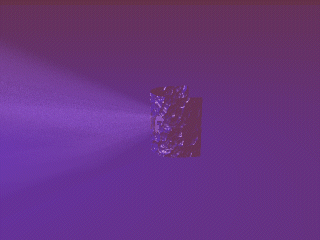
In this last example (Atmos_full_ex4.stg) a slightly less intense effect of light shining through a shaped slit in an object is obtained by setting the SDF value to 1.0 and reducing the maximum attenuation MA to 0.5.
Comments:
 |