This is a modification (enhancement) of Project 6.
Creating Project 7 from Project 6
Open Project6-7 by selecting it on the start page, as shown:
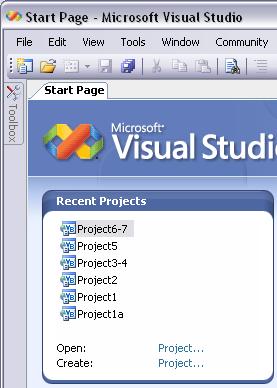
You may also open it by selected Open Project on the File drop-down menu.
Rename the Form file by changing its File Name property
Select the frmProj6.vb form file in the Solution Explorer window, as shown:
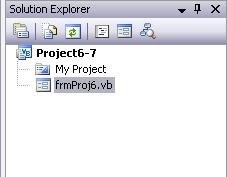
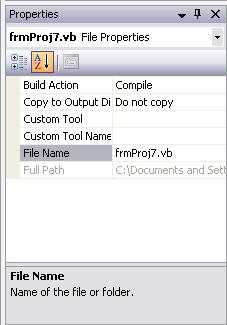
Change the File Name property from frmProj6.vb to frmProj7.vb:
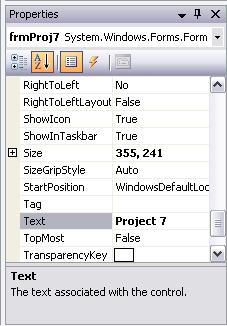
Renaming the form file should have automatically rename the form as well. In design view click once on the form to select it and display its properties in the Properties Window. Be sure that the Name property of the form is now frmProj7 and change the Text property of the form to Project 7, as shown:
Before going on, click on the Save All
button on the toolbar to save your project.
MessageBoxes are really not such a good idea
The MessageBoxes you added in Project 6, which let the user know when they have made a mistake, are really not necessary. In fact, they are just plain amateurish. All MessageBoxes do is annoy the user. I can hear them muttering under their breath, "This program isn’t user friendly! Why the heck can I click on the Add or Delete buttons when I’m not supposed to?"
MessageBoxes do have their place:
- To display serious error messages (when your program is about to self-terminate).
- To ask for confirmation of a function that can’t be undone, such as deleting several pages of text at once in a word processor.
- To display a quick and easy About Box (an About Box lists the Author and version information of an application. About Boxes are usually accessible under the Help menu of most applications).
Avoid using MessageBoxes as much as possible. They just force the User to stop what they are doing to acknowledge it—very annoying. Instead of using a MessageBox to taunt the User by telling them that they have done something wrong, it’s much better if you can prevent them from doing wrong stuff to begin with. So now that you know how to use MessageBoxes, try to avoid using them!
Every Control in Visual Basic has an Enabled property. When the Enabled property is set to True, the control can be selected. When the Enabled property is set to False, the control becomes dimmed (turns gray) and it cannot be selected.
- To prevent the User from clicking on the Add button when the Name Textbox is empty, keep the Enabled property of the Add button set to False until the Name Textbox has something in it.
- To prevent the User from clicking on the Delete button when there is no selected item in the Names Listbox, keep the Enabled property of the Delete button set to False until an item in the Names Listbox has been clicked on.
- Even though it doesn’t cause an error to click the Clear button before any names have been added to the Names Listbox, should the Clear button be selectable if it’s not going to do anything?
Don’t give the User the option to select controls that won’t do anything. They just get confused, and frustrated. The only button that should be Enabled when this application is first launched is the Exit button. You can set initial property values for most controls by putting code in the form's Load event procedure or by changing their properties at design time.
Start this project by deleting all of the messagebox code from the Click event procedures of the Add and Delete buttons (leave behind all the other code). Here’s an example of the code from the btnAdd_Click event procedure with the lines to be deleted crossed out (your code may be different, but the point is to delete the code used for the messagebox):
If txtName.Text <> "" ThenlstNames.Items.Add(txtName.Text)
Else
MessageBox.Show( _
"The Name textbox is empty! Please" & vbCrLf & _
"type the name to be added.", _
"Illegal Operation", _
MessageBoxButtons.OK, _
MessageBoxIcon.Exclamation)
End IftxtName.Clear()
txtName.Focus()
Delete only the crossed out lines above and leave the remaining code behind, like this:
lstNames.Items.Add(txtName.Text)
txtName.Clear()
txtName.Focus()
Get rid of the Message Box code in the Click event procedure of the Delete button as well.
Out with the MessageBoxes—Note: Keep the confirmation messagebox code in the Click event procedure of the Clear button—In with buttons that are disabled until useful. Use the following hints section to see how to enable and disable the buttons to guide user interaction.