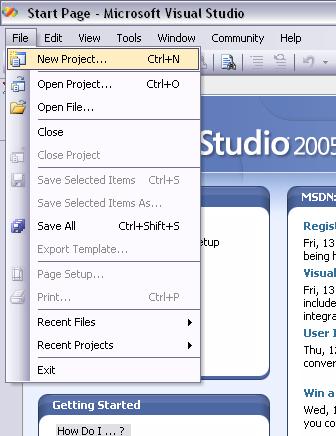
Launch Microsoft Visual Studio 2010. Drop down the File menu and select New Project...
The New Project dialog will appear:
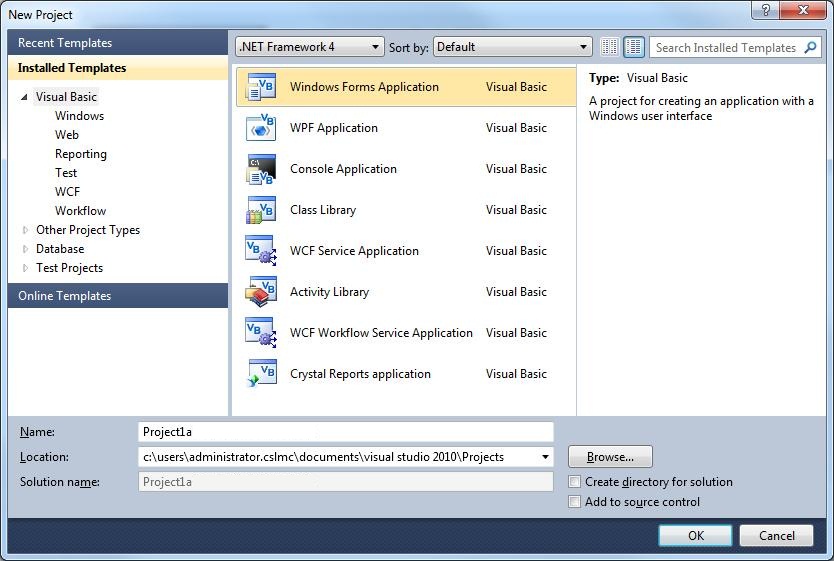
Be sure the Windows Forms Application template is selected in the Templates pane on the right side, then type Project1a in the Name textbox (as shown above). Now click the OK button. Once the new project is opened—this might take a few seconds—save the project by clicking on the Save All button on the standard toolbar:
This displays the Save Project dialog box, as shown:
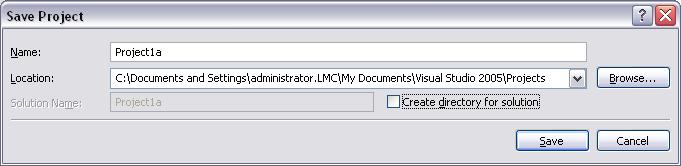
Do not change the default Location path—yours will be different from the above illustration. Note: The illustration above is from version 2005, but the last three folders in the path should be:
My Documents\Visual Studio 2010\Projects.
Be sure to uncheck the Create directory for solution option, as show above, before clicking on the Save button.
This creates a new folder inside the My Documents\Visual Studio 2010\Projects\ folder named Project1a:
My Documents\Visual Studio 2010\Projects\Project1a
Note: When class is over, be sure to follow the instructions at the end of each project that tell you how to copy your project to your floppy diskette or pen-drive so you can take it home with you.
What is Procedural (Linear) Programming
All computer programming of the past was Linear. A program was composed of lines of code that were executed one line after another from top to bottom (lines of code which achieved a specific goal were usually grouped together into what are called Procedures. Never-the-less, these procedures were executed in a Linear way). When the program was run, it executed its code without delay. This type of programming is called Procedural or Linear Programming. Programming in Visual Basic adds a twist to what is historically known as procedural programming with the introduction of Event-Driven Programming.
What is Event-Driven Programming
When you run a Windows program, here’s what you see: A window with Objects (Controls) inside it, such as Buttons, Text boxes, List Boxes, Radio buttons, etc. And what does it do? Nothing—It waits for an event. An event is an action, usually—but not always—initiated by the user, such as clicking on a button, moving the mouse pointer, pressing a key on the keyboard, etc. After an event occurs, any code inside the appropriate event procedure of the object which received the event is executed. Most objects have Event procedures built into them, (e.g., Buttons come with a Click event-procedure).
Hello World
In a bow to tradition, you will now create a Hello World program. Ever since I can remember, the first program that beginning programmers write is a Hello World program. What a Hello World program entails is this: You create a program that writes the message "Hello, world!" on the screen. Sound simple? It is. As a Procedural application using the old version of Basic for DOS, this program can be as small a one line of code, like so:
Print "Hello, world!"
When the old, linear Basic version of this program is run, the above line of code is executed immediately, the message "Hello, world!" is displayed on the screen, and the program terminates. A similar line of code can be used in your Event-driven Visual Basic 2010 version of this program as well. But where does the code go? Remember that in an Event-driven programming environment, almost all code must be placed within the event procedures of the controls used in the program. To keep things really simple in this program we will have only one control—a blank Form.
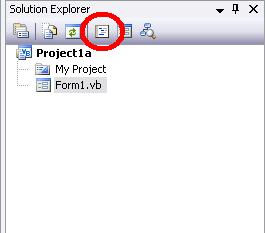
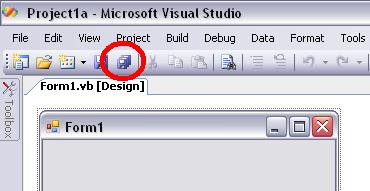
When we created this new project it came with a blank form named Form1. With Form1.vb selected in the Solution Explorer Window, as shown above, click on the View Code button (circled above) which is located at the top of the Solution Explorer Window, to display the code window for Form1:
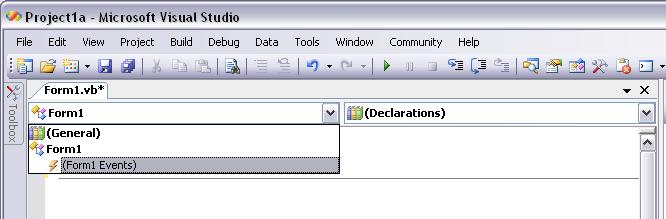
To access the Event Procedures of Form1, drop down the Class Name list at the top left side of the code window and choose (Form1 Events) as shown above.
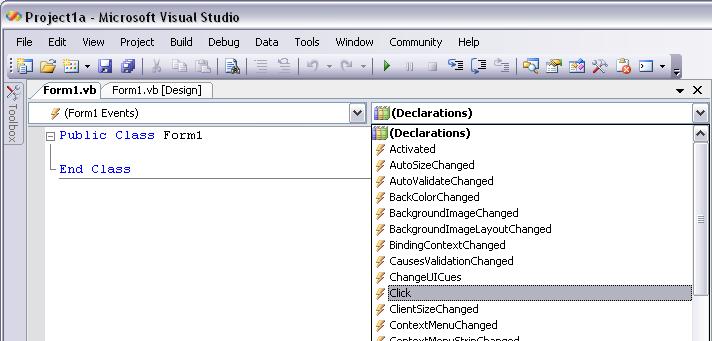
Once (Form1 Events) is selected on the Class Name list, drop down the Method Name list at the top right of the code window and choose the Click event procedure (as shown above).
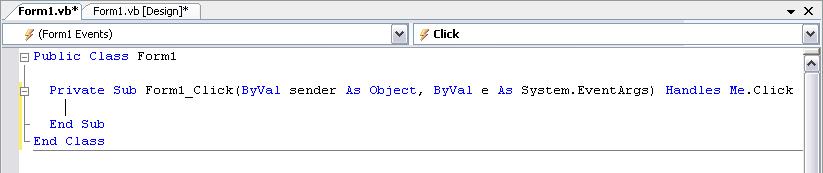
Your code window should now look similar to the above illustration. Note that the cursor—the flashing vertical line—is inside the Form1_Click event procedure where you can begin typing code. Type the following line of code inside the Form1_Click event procedure:
Debug.WriteLine("Hello World from Form1_Click")
The above line of code uses the WriteLine method the the intrinsic—built in—Debug class to write a string to the Output Window.
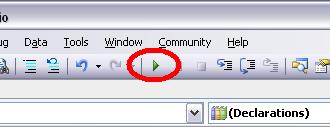
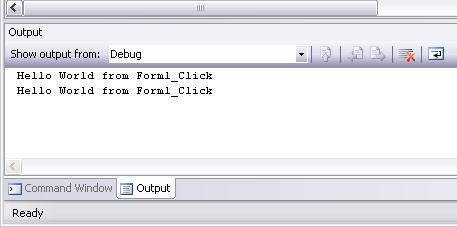
After typing the above line of code in the Form1_Click event procedure, click on the Start Debugging button on the toolbar (circled in the illustration above) to run the program. After about 10 seconds or so, when the compilation is complete, you should see a small blank form. Click once in the middle of the form, wait a couple of seconds and then click again in the middle of the form. Now take a look in the Output Window in the lower left corner of the screen behind the form. Do you see the Hello world from Form1_Click string appear twice (once for each click) as shown in the example illustration below?
Every time you click on the form you raise the Form1_Click event procedure. This executes the code in the Form1_Click event procedure and a new Hello world from Form1_Click line should appear. Click on the form a couple more times and see. Now stop the program by clicking on the form's close button in its upper right corner—Not the one in the far upper right corner of the screen which would close Visual Studio 2010:
Use the list below and add the corresponding line of code to each of these event procedures of the form. To find each event procedure, choose (Form1 Events) from the Class Name drop down list, and then choose the event procedure name from the Method Name list:
Event Procedure |
Add this line of Code |
| Activated | Debug.WriteLine("Hello world from Form1_Activated") |
| MouseMove | Debug.WriteLine("Hello world from Form1_MouseMove") |
| Resize | Debug.WriteLine("Hello world from Form1_Resize") |
| DoubleClick | Debug.WriteLine("Hello world from Form1_DoubleClick") |