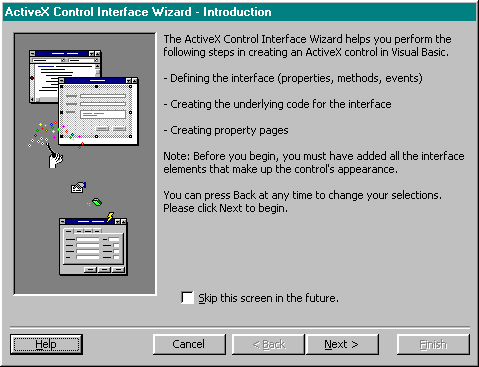
The preceding sections walked you through creating a custom control from scratch. Controls are pretty complicated, and this is an important step in understanding how they work. Once you've got that down you can leap ahead by using the ActiveX Control Interface Wizard add-in.
This add-in generates code to allow your custom control to use the properties, methods, and events of contained controls as its own. This is called delegating tasks from the custom control to the items the custom control contains.
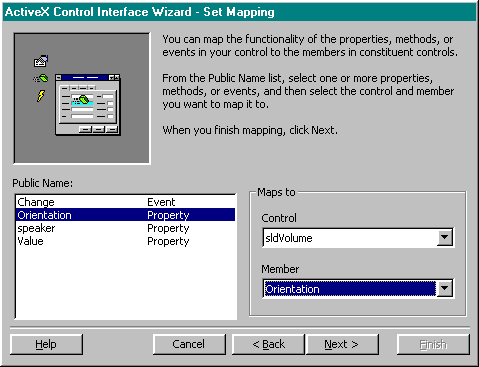
To see how this works, open the Volume control project created earlier in this chapter. The following steps implement an Orientation property for the Volume control based on the Slider control's Orientation property:
The ActiveX Control Interface Wizard generates code based on controls already drawn on the custom control.
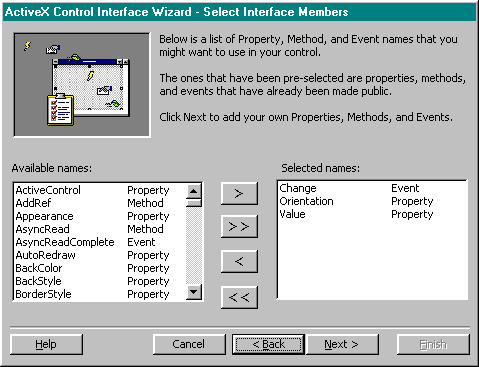
Select items to include in your control from a list of standard names.
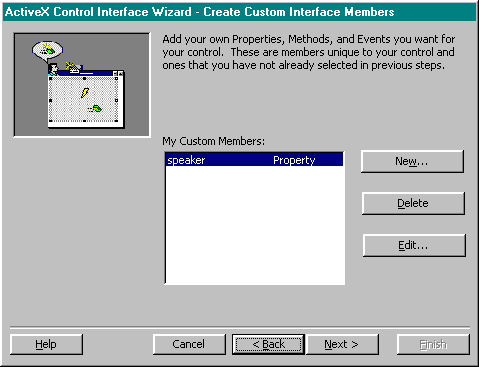
Add unique property, method, and event names here to generate empty template code for those items.
Set mapping delegates items in your custom control to items in the controls it contains.
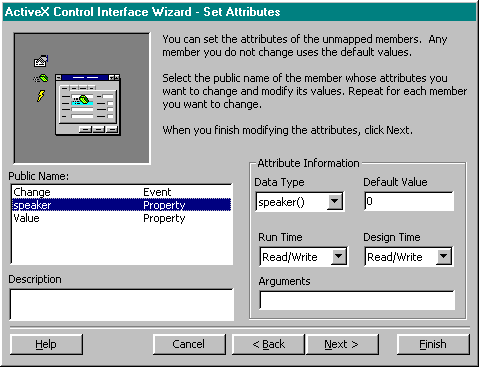
Set attributes determine the attributes of existing items in your custom control that are not delegated to another control's member.
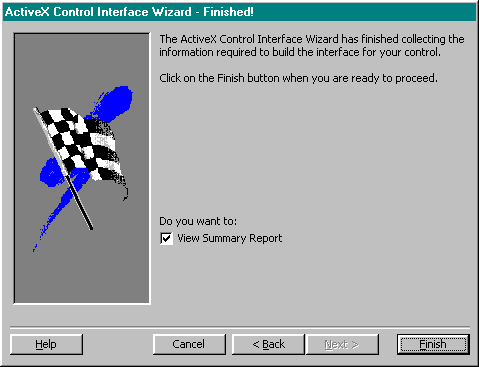
Select View Summary Report to see a description of how to save and test the generated code.
It's imperative to start with a custom control containing no code, so you can get a clear view of the code generated by the Control Wizard. The preceding steps generate the code in Listing 22.8.
Listing 22.8 - Volume.CTL - Code Generated by the ActiveX Control Interface Wizard
Public Property Get Orientation() As DataBinding
   Orientation = sldVolume.Orientation
End Property
Public Property Let Orientation(ByVal New_Orientation As DataBinding)
   sldVolume.Orientation = New_Orientation
   PropertyChanged "Orientation"
End Property
'Load property values from storage
Private Sub UserControl_ReadProperties(PropBag As PropertyBag)
   sldVolume.Orientation = PropBag.ReadProperty("Orientation", 0)
End Sub
'Write property values to storage
Private Sub UserControl_WriteProperties(PropBag As PropertyBag)
   Call PropBag.WriteProperty("Orientation", sldVolume.Orientation, 0)
End Sub
The DataBinding data type above ensures the settings for Orientation are transferred from the Slider control to the custom control.
You can use the Control Wizard to explore how to implement various aspects of a control. Be aware that it will comment out code for existing members if you remove them in one of the wizard's steps.
Sometimes, it's handy to run the Control Wizard on a version of your control containing no code, then copy the generated control into the complete version of your control. This gives you more control and understanding of the changes being made.