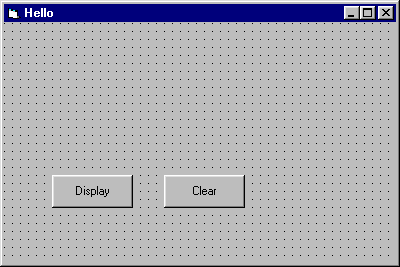
- add another command button in the same way and set the properties like this:
Caption
Height
Left
Top
Width
Clear
495
2400
2280
1215
Your form should look like this now:

- add a third button with these properties
Caption
Height
Left
Top
Width
Exit
495
4080
2280
1215
Now we're going to add another kind of control called a text box. In our illustration, it's the second one down in the leftmost column of the toolbox.
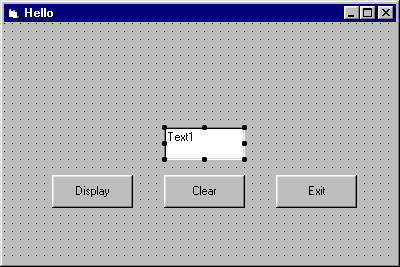
- double-click the button to add the control - your form should look like this:

- you should set the text box properties as under:
Alignment
Height
Left
MultiLine
Top
Width
Center
495
1680
True
1320
2655
This time, we're going to adopt the convention of starting the names of text boxes with txt. It's a little quirky, but if you want to set the set alignment to Center, then we have to set the MultiLine property to True. To make sure that the box has no text in it, you need to click in the Text property box, click the arrow that appears, and then delete any text from the box which pops up.
Finally, we're going to add yet another type of control called a label - it's the one with a letter 'A' on it.
- double-click the button to add the label to your form
- set the properties as follows
Caption
Height
Left
Top
Width
Message:
255
1680
1080
1215
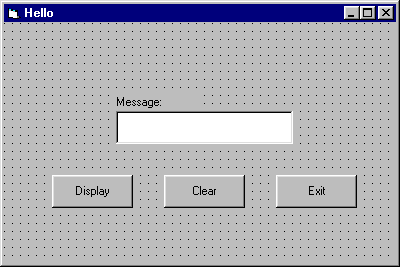
So your form now looks like this:

Make sure you save the project - clicking File then Save Project will automatically save the form as well as the project.
Continued...