Previous Next


Produce a Video : Produce using Custom Production Settings : Post-Production Options : Upload a Video to Screencast.com

Upload a Video to Screencast.com
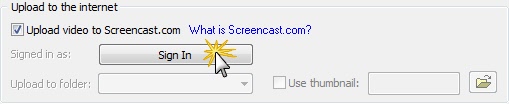
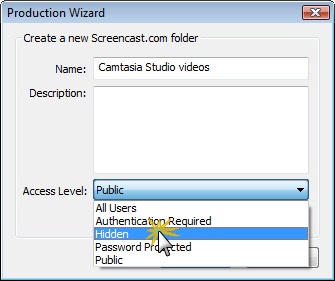
In the Production Wizard, you can upload to Screencast.com from any of Camtasia Studio’s default presets or with the Custom production settings option. After rendering the video, you can upload your video directly to your Screencast.com account. For more information, see www.screencast.com.
1.
In the Task List, select Produce video as.
2.
*
Select a preset. The preset selected in the Project Settings dialog is automatically selected. Click Next.
*
We recommend selecting the Screencast.com preset in the Project Settings dialog box and in the Production Wizard when uploading content to Screencast.com.
*
Select Custom production settings. Click Next.
3.
On the Where would you like to save your video file(s) or the Produce Video screen, enable the Upload video to Screencast.com option.
4.
Click the Sign In button.
5.
6.
7.
Enable the use thumbnail option to select different image for the thumbnail instead of the first frame of the video.
8.
Click Next.
9.
Click Finish. The video begins to render.
10.
Once complete, select Yes to continue uploading to Screencast.com.
The content opens on Screencast.com. On this page, you can copy the URL to share the content with viewers.
*
Folder Options
Select from the following options when creating a new Screencast.com folder:
 

Previous Next