Creating a Data Model File
This article describes what the data modeling tool is and why you use it, and how you create a new model file.
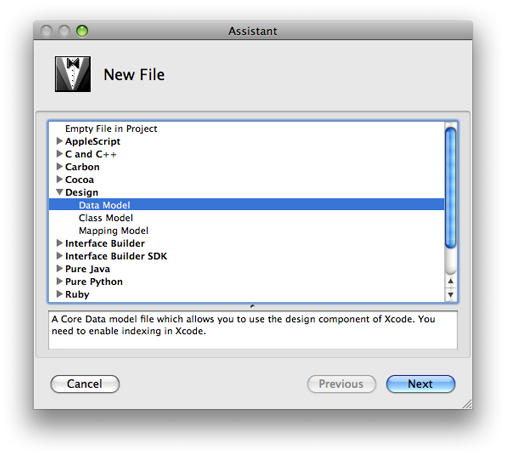
If you create a Core Data–based project, a data model is automatically created for you and added to the project. If you need to create a new model, choose File > New File and in the the New File assistant—shown in Figure 1—select Design > Data Model and press Next.
In the pane that appears (see “The Properties Pane”), give the file a suitable name.
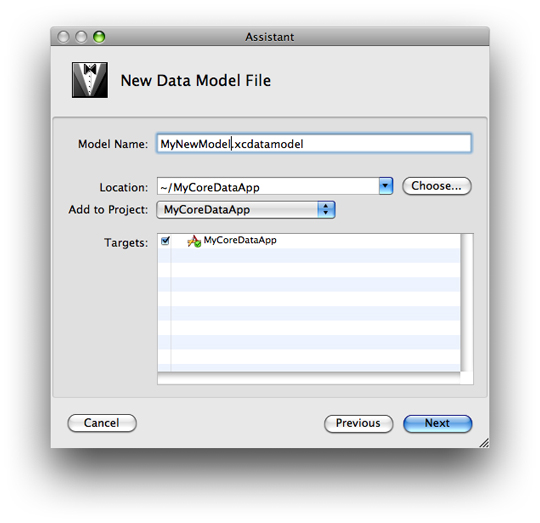
Press Next, and in the following pane select any groups or files that you want to be parsed for inclusion in the model (if any); then click Finish.
If you have an existing compiled (.mom) model file (see “Compiling a Data Model”), you can import it into a model by choosing Design > Data Model > Import and selecting the .mom file in the open panel that is displayed.
Note: Data model files are actually file packages. Make sure you take this into account when setting up source code management (SCM), copying, and so on.
Since the data model is a runtime resource (it is compiled, and deployed, as part of the application), you should add new data models not only to the project, but also to the relevant target(s).
Last updated: 2009-03-02